
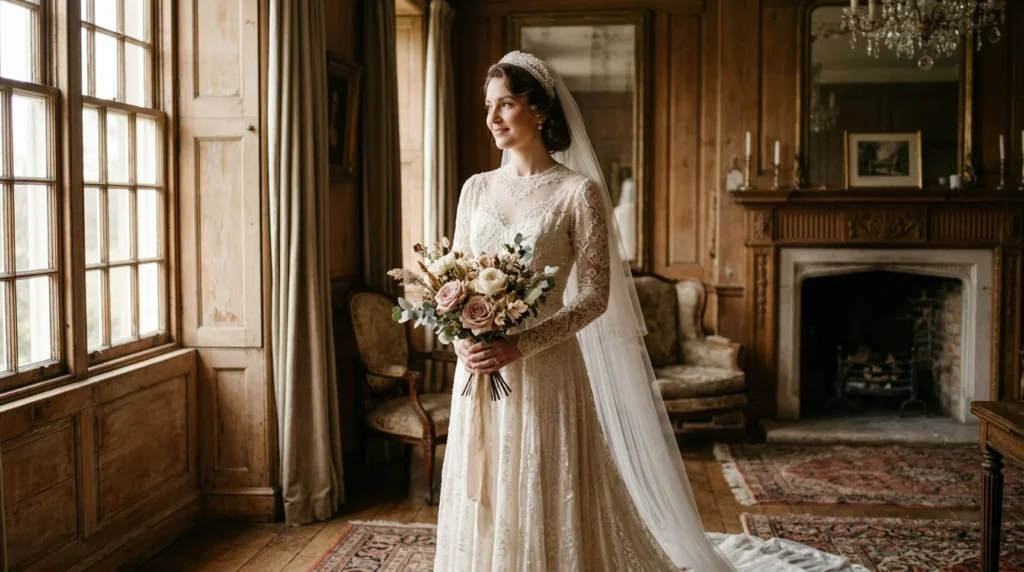
A vintage wedding dress carries something a brand-new gown can’t fake: history. Whether it’s your grandmother’s dress from the 1960s, a thrifted find from a bridal consignment shop, or a gown that’s been sitting in someone’s closet for decades, the question that comes next is almost always the same — can it actually be altered to fit you, and will it survive the process? This guide walks through exactly how vintage wedding dress alterations work, what’s realistically possible, what typically goes wrong, and how to protect the details that make the dress worth keeping in the first place.
Quick Answer: Can a Vintage Wedding Dress Be Altered?
Yes, in most cases a vintage wedding dress can be altered, but the process is different from altering a modern gown. Older fabrics may be fragile, seam allowances are often smaller, and details like hand-sewn lace or beading limit where changes can be made. The right approach depends on the dress’s condition, how much it needs to be resized, and whether you’re aiming for a subtle refresh or a bigger style update — which is why an assessment always comes before any cutting or stitching begins.
Can Every Vintage Wedding Dress Be Altered?
Not every alteration is possible on every dress, and that’s the first thing to understand before falling in love with a specific plan. <cite index=”16-1″>Resizing an older wedding dress isn’t always as simple as taking in or letting out the side seams — the available seam allowance, the condition of the fabric, and the placement of decorative details all affect what can realistically be done.</cite> A dress with generous seam allowances and stable fabric can often be resized in fairly standard ways. A dress with minimal extra fabric, or lace and beading running directly across the areas that need adjusting, may require a more creative approach — adding panels, reshaping rather than simply trimming, or working around decorative elements instead of through them.
What “Vintage” Actually Means for Alterations
In alteration terms, “vintage” generally refers to a dress that’s several decades old, built using construction methods and fabrics that differ from what’s used in modern bridal manufacturing. That distinction matters practically: older silk, delicate lace, or hand-finished seams often need to be handled — and sometimes reinforced — before any resizing work starts, rather than treated like a standard modern gown made from stable synthetic fabric.
Step 1: Assess the Dress Before Any Alteration Begins
Checking Fabric Condition
Before any cutting, taking in, or letting out happens, a proper assessment checks whether the fabric itself is strong enough to handle the work. <cite index=”15-1″>Older materials, especially aging silk, sometimes need stabilization before any alteration work can begin, and vintage lace in particular may need reinforcement, hand-mending, or careful partial replacement to blend seamlessly with the original.</cite> This step is often skipped by brides eager to get straight to fitting, but it’s the single biggest factor in whether an alteration goes smoothly or causes damage.
Checking Seam Allowance
Seam allowance — the extra fabric folded inside a seam — determines how much a dress can be let out. <cite index=”13-1″>Some vintage dresses have generous extra seam allowance that can simply be let out, while others require more creative solutions, such as adding fabric panels or working in complementary vintage fabric to increase the size.</cite> A good tailor will check this early, since it directly shapes what’s realistic versus what would require compromise elsewhere in the design.
It’s also worth knowing that many older dresses have already been altered once or twice by a previous owner. A skilled vintage-focused tailor can usually tell what’s original construction versus a prior repair, which affects how much flexibility remains for new changes.
Step 2: Decide What Kind of Alteration You Actually Need
Not all “alterations” are the same scope of work, and being specific about what you actually want makes the assessment and cost conversation much more productive.
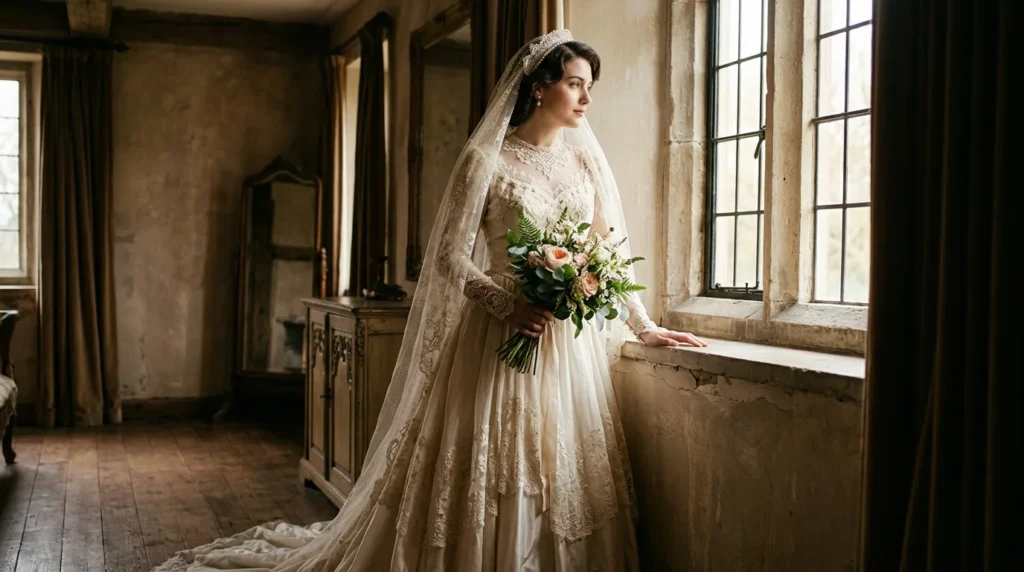
Simple Adjustments
This covers hemming, minor taking in or letting out at the side seams, adjusting strap length, or small sleeve modifications. These are generally the lowest-risk category and the most likely to be reversible if you change your mind later.
Structural Changes
This includes resizing across multiple seams, reshaping the bodice, or significant let-out work where the dress needs to accommodate a noticeably different body size than the original owner. These changes are more involved and, depending on fabric and lace placement, may not be fully reversible.
Silhouette or Style Updates
This is the most ambitious category — changing a neckline, removing or adding sleeves, converting a fuller skirt to a slimmer silhouette, or blending in modern elements while keeping vintage details like lace or embroidery. <cite index=”13-1″>Instead of drastic silhouette changes, many tailors recommend subtler updates, such as adjusting the hemline or modifying sleeves while keeping the dress’s original proportions intact</cite> — a practical middle ground between preserving the dress as-is and fully modernizing it.
Step 3: Choose the Right Person for the Job
Not every tailor is equipped for vintage bridal work, and this is one of the most common points of failure in the whole process. <cite index=”17-1″>Vintage dresses in particular can have fragile seams, older fabrics that need gentle handling, and construction methods that not every modern seamstress recognizes.</cite> A general clothing alterations shop may do excellent work on modern, mass-produced garments and still be the wrong choice for a decades-old silk gown with hand-finished lace.
When evaluating a tailor or bridal specialist, it’s reasonable to ask directly about their experience with vintage or heirloom garments specifically, not just wedding dresses in general. Ask to see examples of previous vintage alteration work if possible, and don’t hesitate to get a second opinion if something about the plan feels rushed — a rushed assessment is one of the clearest warning signs that a shop isn’t set up for this kind of work.
Step 4: The Alteration Process, Stage by Stage
Once a plan is agreed on, the process generally follows a consistent sequence, even though the specific work varies by dress:
- Initial consultation and assessment — fabric condition, seam allowance, and existing damage are documented before anything is touched.
- Cleaning or stabilization (if needed) — fragile fabric is sometimes gently cleaned or reinforced before fitting begins, since dirt and oxidation can make fabric more prone to tearing during handling.
- First fitting and pinning — the dress is pinned to the body (or a form matching your measurements) to map out exactly what needs to change.
- Careful deconstruction of affected areas — seams are opened, and any lace or beading in the affected zones is detached or protected rather than cut through.
- The actual alteration work — taking in, letting out, adding panels, or reshaping happens using hand-stitching where the fabric calls for it. <cite index=”13-1″>Hand-stitching is often preferable to machine sewing for delicate fabrics, since it allows more control and is gentler on aging material.</cite>
- Reattaching preserved details — lace, beading, or embroidery that was set aside is carefully repositioned so the alteration blends into the original design.
- Follow-up fitting(s) — at least one, often two, additional fittings confirm the fit and finish before the dress is considered complete.
Skipping fittings to save time is one of the more common regrets brides mention after the fact — vintage fabric doesn’t always behave predictably, and a second fitting often catches small issues before they become bigger ones.
Preserving Lace, Beading, and Other Signature Details
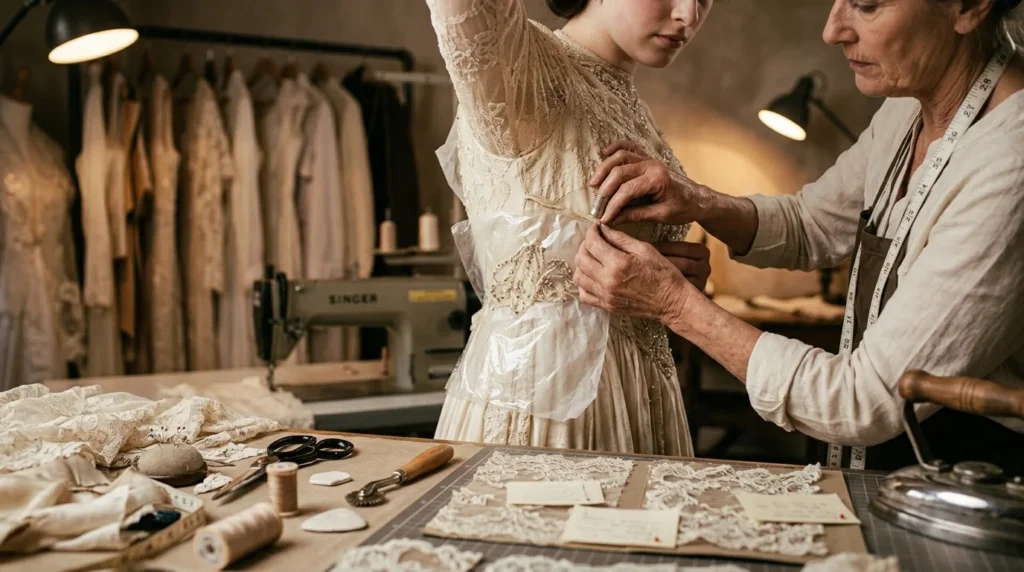
The details are usually the entire reason someone wanted the vintage dress in the first place, so protecting them deserves its own step in the plan. Hand-sewn lace, embroidery, and beadwork are typically the most delicate and the most irreplaceable elements of an older gown. When alterations require moving or removing these details temporarily, a skilled seamstress can detach, store, and reattach them so they read as original rather than patched on.
If a section of lace is too damaged to reuse, some tailors can source comparable vintage lace or fabric to blend in rather than replacing it with an obviously modern substitute — though matching antique lace exactly is not always possible, and it’s worth having that conversation honestly rather than assuming a perfect match is guaranteed.
How Early Should You Start Alterations?
Vintage alterations generally need more lead time than standard bridal alterations, for a simple reason: the assessment, any necessary stabilization, and the more careful hand-work involved all take longer than working with new, stable fabric. While standard modern wedding dress alterations are often scheduled a few months before the wedding, vintage dress work benefits from starting earlier — ideally as soon as you know you want to move forward, rather than waiting until close to the date. This gives room for an unhurried assessment, time to source matching materials if needed, and space for multiple fittings without pressure.
Common Mistakes to Avoid
Skipping the assessment and jumping straight to “just take it in.” Without checking fabric condition and seam allowance first, both the bride and the tailor are working blind, which increases the risk of damage or an alteration plan that has to change midway through.
Choosing a tailor based on price alone. Vintage bridal alteration is a specialized skill, and the cheapest option is often the one least equipped to handle fragile, decades-old fabric safely.
Washing or cleaning the dress yourself before bringing it in. Home cleaning methods that work fine on modern fabric can damage aging silk, discolor lace, or loosen beading — cleaning decisions are best made as part of the professional assessment, not before it.
Assuming every detail can be perfectly preserved. It’s a common misconception that any lace or beading can simply be “moved” without consequence. Some details are structurally tied to the original seams and genuinely cannot be relocated without a visible change — a good tailor will tell you this honestly rather than promise a flawless result.
Waiting too long to start. Because vintage alterations often take longer than standard ones, starting late limits your options and can force rushed decisions.
Expert Tips for a Successful Vintage Alteration
- Bring any information you have about the dress’s age, previous alterations, or fabric type to your first consultation — even small details help the tailor plan accurately.
- If you’re torn between preserving the dress exactly as-is and updating the silhouette, ask your tailor for a “reversible-first” option — many structural changes can be designed so a future owner could undo them, which matters if the dress may be passed down again.
- Photograph the dress thoroughly before alterations begin, including close-ups of lace, beading, and any existing damage, so you have a clear record of its original condition.
- If the dress needs significant resizing and original seam allowance won’t cover it, ask specifically about panel or godet insertion using complementary vintage fabric, rather than assuming a larger size simply isn’t possible.
- Don’t wait until the final fitting to raise concerns — flag anything that feels off as early as possible, since earlier stages are easier and safer to adjust than later ones.
Frequently Asked Questions
Can any vintage wedding dress be altered to fit a different size? Most can be adjusted to some degree, but how much depends on the fabric’s condition and the original seam allowance. Dresses with limited extra fabric or lace running across key seams may need creative solutions like added panels rather than simple taking in or letting out.
How much does it cost to alter a vintage wedding dress? Costs vary significantly depending on the scope of work, the fabric, and the tailor’s specialization, and are generally higher than standard modern dress alterations because of the extra care and hand-work involved. It’s best to get a quote after an in-person assessment rather than estimating from general pricing.
How early should I start alterations on a vintage dress? Earlier than you would for a modern dress — ideally as soon as you commit to altering it, since assessment, potential stabilization, and multiple fittings all take additional time.
Will altering the dress ruin its vintage character? Not if it’s done thoughtfully. Many tailors favor subtle changes — hemline, sleeve, or minor fit adjustments — that preserve the original silhouette and details rather than dramatically redesigning the gown.
Can lace and beading be preserved during alterations? In most cases, yes. Lace, embroidery, and beading can often be carefully detached, protected during the structural work, and reattached so the finished result looks original. Some heavily damaged sections may need reinforcement or a close fabric match instead.
Do I need a bridal specialist, or can any tailor do this? A vintage-experienced bridal specialist is strongly recommended. General alterations shops may not be familiar with older construction methods or delicate fabrics, which raises the risk of avoidable damage.
Should I clean the dress before or after alterations? This should be part of the professional assessment rather than a decision you make on your own beforehand, since improper home cleaning can damage aging fabric or beading.
What if the dress is too small and there’s no seam allowance to let out? It may still be possible through techniques like adding fabric panels or godets using complementary vintage or vintage-style fabric, though this changes the dress’s construction more than a simple let-out would.
Are vintage wedding dress alterations reversible? Some are, some aren’t. Minor adjustments like hemming are usually reversible; alterations involving cutting or permanently removed fabric generally are not. If future reversibility matters to you, say so clearly at the consultation.
How many fittings does a vintage dress alteration usually need? Typically at least two — an initial fitting to plan the work and a follow-up to confirm fit and finish — though more complex alterations may need additional fittings.
Final Takeaway
Altering a vintage wedding dress is very often possible, but it rewards patience over speed. Starting with an honest assessment of the fabric and seam allowance, choosing a tailor genuinely experienced with vintage and bridal work, and favoring subtle changes over dramatic redesigns are the choices that most reliably protect both the fit you want and the history the dress already carries. If you’re just beginning this process, the best next step is booking a consultation with a vintage-specialized bridal tailor before making any decisions about cleaning, storage, or the scope of the alteration itself.

At Decor Artly, we bring art, home decor, and personal style together to create beautiful spaces and inspiring lifestyles. Led by Design Director Roni, we offer curated artwork, elegant home accents, and personalized styling to help you express your unique taste.