
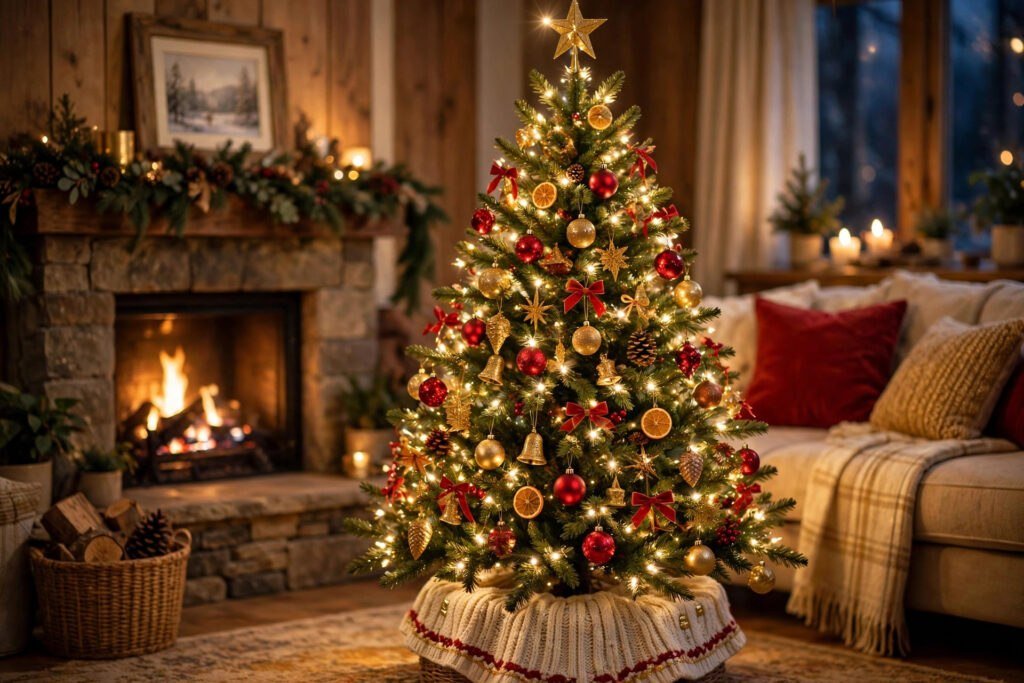
Decorating a Christmas tree is easy when you work in the right order. Shape and fluff the branches first, then add the lights, then ribbon or garland, then ornaments from largest to smallest, and finish with the tree topper and a tree skirt. Following this simple sequence is the real secret behind every full, balanced, magazine-style tree — and it is exactly how to decorate a Christmas tree like a professional, even on your very first try.
Many beginners hang a few favorite ornaments first and then wonder why the tree looks patchy or the lights seem buried. The fix is not more decorations. The fix is layers, applied in the right sequence, so every element supports the next one. This guide walks you through each step in order, with the same techniques stylists use on display trees.
What Do You Need Before You Start?
Gathering everything first saves you from hunting for hooks halfway through. You will need:
- Your tree (real or artificial), plus a sturdy stand and a tree skirt or collar
- String lights — roughly 100 bulbs per foot of tree height is a good guide
- Ribbon, mesh, garland or tinsel for the middle layer
- Ornaments in at least two or three sizes, plus a few special feature pieces
- Ornament hooks or short lengths of floral wire
- A tree topper (star, angel, bow or finial)
- A step stool, scissors and a power strip with a switch
Test every strand of lights before it goes on the tree. A dead strand is easy to swap now and miserable to remove later.
Step 1 – Fluff and Shape the Tree
Fluffing is the most skipped step and the one that matters most. Work branch by branch, starting at the bottom, and spread each tip up, down and outward so no two tips point the same way. Fill the dark gaps around the trunk first, then shape the outer silhouette. A well-fluffed tree hides the pole, holds ornaments better and instantly looks more expensive. Spend a solid ten minutes here; everything after this step gets easier.
Step 2 – Add the Lights First
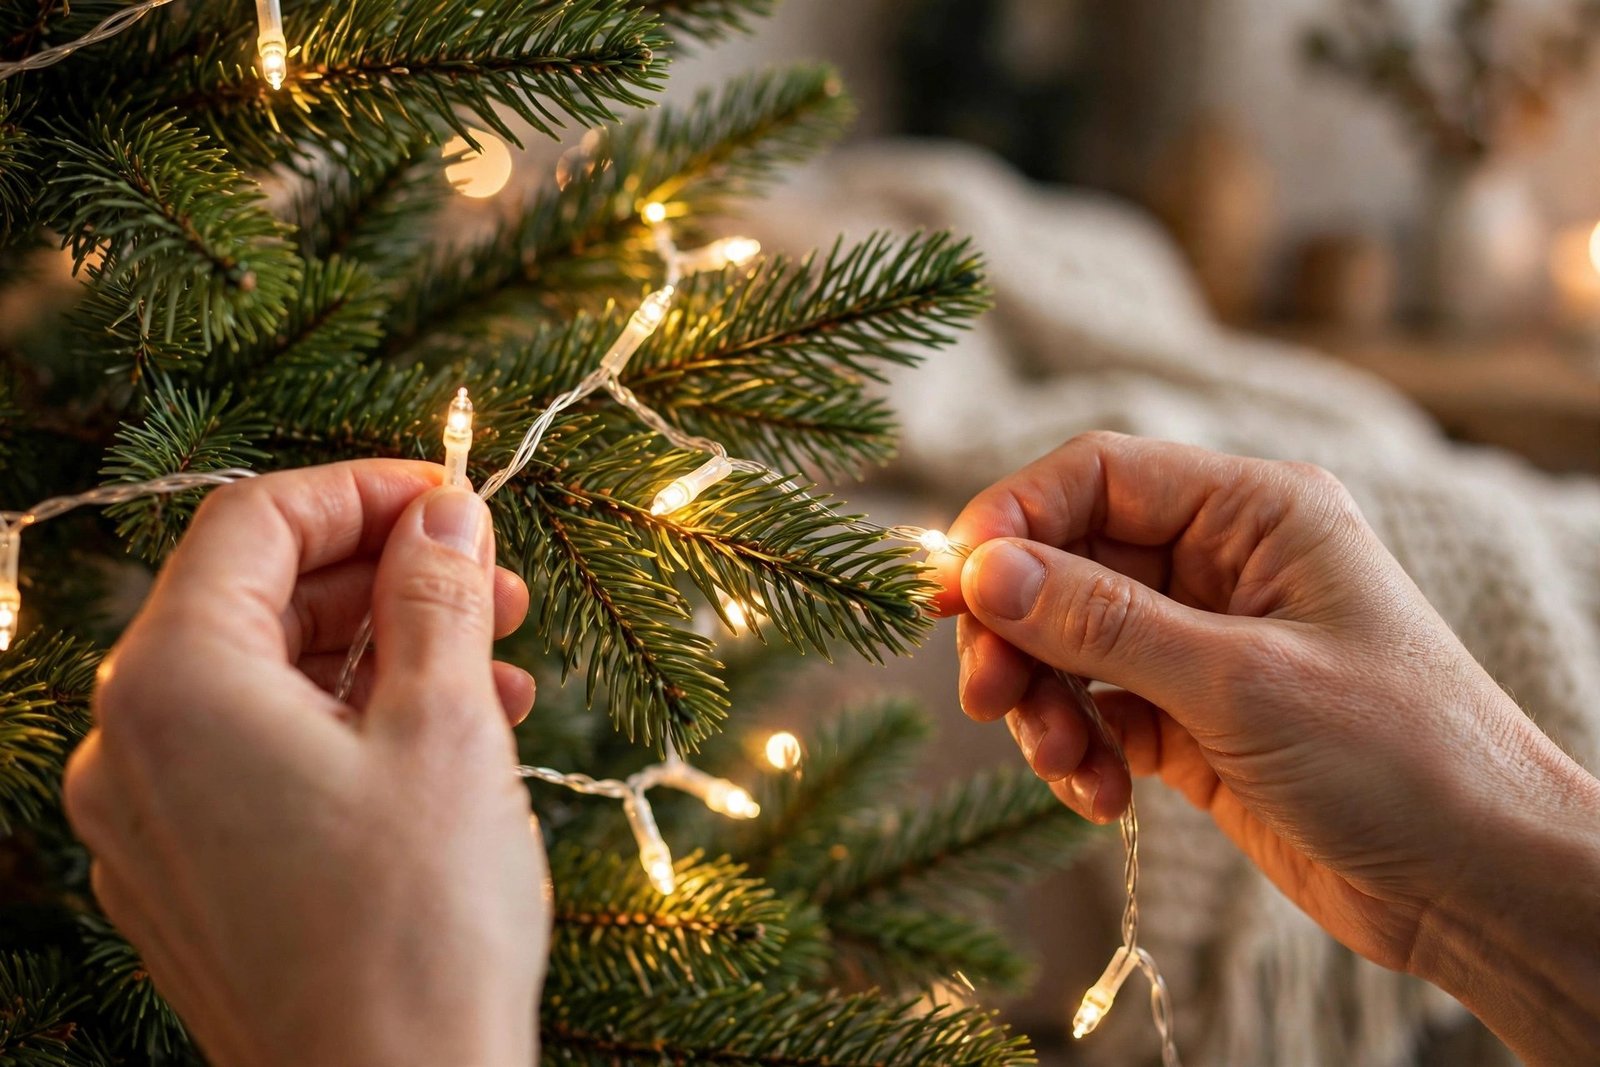
Lights always go on before anything else. Starting at the bottom and near the trunk, weave the strand in and out along each major branch, working upward in a loose zigzag rather than neat circles. Weaving gives the tree depth, so it glows from the inside instead of looking wrapped. Plug in the lights as you go so you can spot dark areas early and even out the coverage. If you love a themed or nostalgic glow, the lighting ideas in our guide to vintage Christmas decorations pair beautifully with this layering method.
Step 3 – Add Ribbon or Garland
Next comes the ribbon or garland layer, which adds movement and fills the visual space between branches. For ribbon, cut lengths of about three feet and tuck them into the tree in soft, billowing loops, pinning each loop deep enough that it looks woven rather than draped. Work diagonally around the tree. For garland, swag it loosely from branch to branch in gentle scallops, slightly tighter near the top and fuller near the bottom. This layer should look effortless, so resist the urge to pull it tight or measure the spacing.
Step 4 – Hang Ornaments by Size
This is the step that makes a tree look designed instead of random, and the rule is simple: largest ornaments first.
Start With the Largest Ornaments
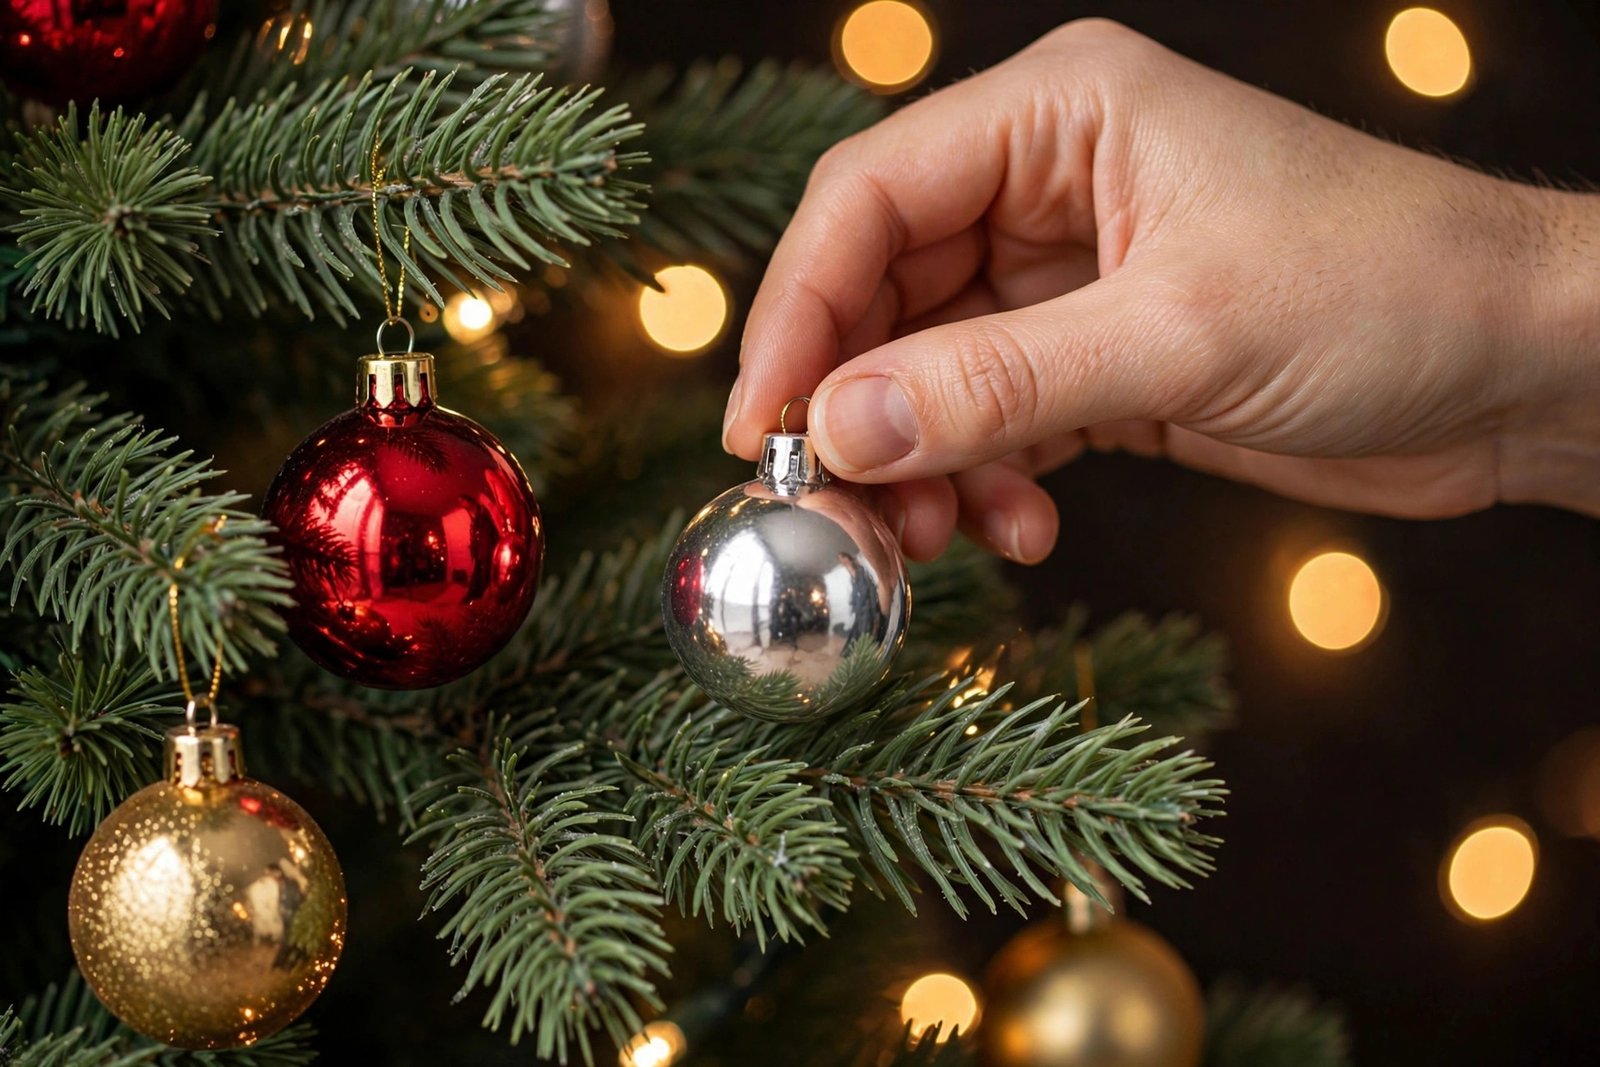
Place your biggest baubles evenly around the tree, tucking some deeper into the branches near the trunk. Large ornaments create the structure of the design and reflect the lights beautifully from inside the tree.
Fill the Gaps With Medium Ornaments
Add medium-sized ornaments next, spacing them in rough triangles so no two sit in a straight line. Step back every few minutes and squint — bare patches are much easier to see from across the room.
Finish With Feature Ornaments
Finally, hang your smallest and most special ornaments at eye level on the outer branch tips, where they catch the light and get noticed. These are your handmade, inherited or most detailed pieces, so give them the front-row spots. If you enjoy making your own, the handmade pieces in our DIY Christmas decorations guide are perfect feature ornaments. For a deeper walkthrough of ornament placement and color balance, the stylists at Balsam Hill share a helpful decorating guide.
Step 5 – Add the Tree Topper
The topper goes on once the ornaments are in place, and it should suit the scale of your tree — a small star looks lost on a nine-foot tree, while an oversized bow can swamp a slim one. Popular choices include stars, angels, snowflakes, finials and generous ribbon bows. Use a step stool rather than leaning in, and if your topper wobbles, secure it to the top branch with floral wire or a zip tie hidden behind it. Leave a little breathing room between the topper and the ceiling.
Step 6 – Finish With the Tree Skirt and Final Touches
Slide the tree skirt or collar around the base to hide the stand, cords and trunk. Then step back and do a final styling pass: tuck a few floral picks, pinecones or berry sprays into any remaining gaps, straighten ornaments that have twisted backward, and check the tree from every angle you will actually see it, including from the doorway and the sofa. If your tree goes up straight after the earlier holiday, many pieces carry over — candles, pinecones and warm metallic accents from your Thanksgiving decoration ideas can blend straight into a Christmas scheme. Finish by dimming the room lights and admiring the glow. That final view tells you more than any close-up inspection.
How to Decorate a Christmas Tree Like a Pro – Expert Tips
- Work in odd numbers. Clusters of three or five matching ornaments read as intentional design, while pairs can look like accidents.
- Mix finishes, not just colors. Combine matte, shiny and glitter ornaments in the same color family so the tree has texture and depth.
- Use the squint test. Step back three meters, squint, and look for dark holes or heavy clusters. Adjust before you add more.
- Wire heavy ornaments. Floral wire holds weighty pieces far more securely than thin hooks, especially on real branches that soften over time.
- Add reflective pieces deep inside. A few shiny ornaments near the trunk bounce the lights outward and make the whole tree sparkle.
Common Mistakes to Avoid
The most common mistake is hanging ornaments before the lights, which buries the glow and forces you to work around fragile pieces. Other frequent errors include skipping the fluffing stage, wrapping ribbon in one tight spiral like a barber pole, clustering all the large ornaments at the bottom, and using too many colors at once — two or three colors plus one metallic almost always look more elegant. Finally, do not decorate only the front unless the tree truly sits flat against a wall; sparse sides show the moment guests move around the room.
Lights go on first, right after fluffing the branches. Adding lights before ribbon and ornaments lets you weave them deep into the tree for an even glow, without knocking fragile decorations off the branches.
A good starting point is around 80 to 100 ornaments for a full, decorated look on a 7-foot tree. Use a mix of large, medium and small sizes, and add more if your ornaments are mostly small.
The correct order is: fluff and shape the branches, add lights, add ribbon or garland, hang ornaments from largest to smallest, place the tree topper, and finish with the tree skirt and final touches.
Fluff every branch thoroughly, weave lights deep into the tree instead of only on the surface, tuck large ornaments near the trunk, and fill gaps with ribbon loops, floral picks or pinecones.
The topper goes on near the end, after the ornaments, so you do not knock it while reaching around the tree. It is also easier to judge its size and angle once the rest of the tree is finished.
Space ornaments in loose triangles rather than straight lines, keeping similar colors and sizes spread around the whole tree. Step back every few minutes to check the balance from a distance.

At Decor Artly, we bring art, home decor, and personal style together to create beautiful spaces and inspiring lifestyles. Led by Design Director Roni, we offer curated artwork, elegant home accents, and personalized styling to help you express your unique taste.
Pingback: Outdoor Christmas Decor Ideas - decorartly.com
Pingback: Christmas Mantle Ideas
Pingback: Balcony Christmas Decorations
Pingback: Whimsy Christmas Decor
Pingback: Christmas Wreath
Pingback: Flocked Christmas Tree