
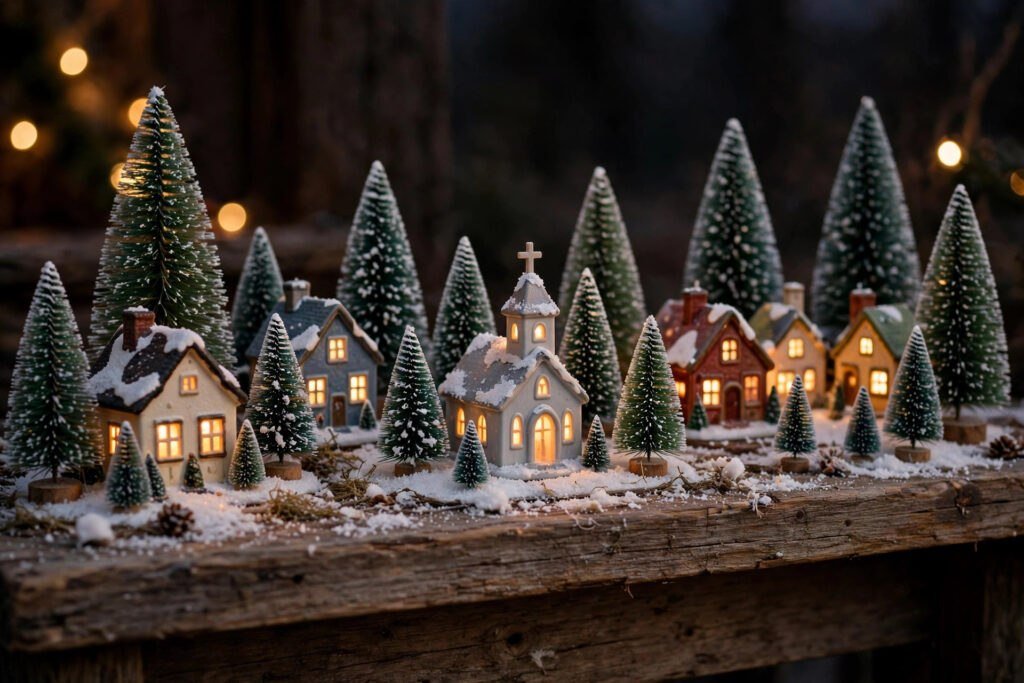
Christmas village sets turn one shelf, mantel or tabletop into a whole snowy town, with lit houses, tiny churches and miniature people gathered under a dusting of fake snow. A good display is less about owning the most pieces and more about choosing one scale, building levels and hiding the cords, so the scene looks planned instead of piled. This guide covers the types of village sets, how to choose the right size for your space, display layouts, lighting, scene building details and the storage habits that keep fragile pieces safe until next December.
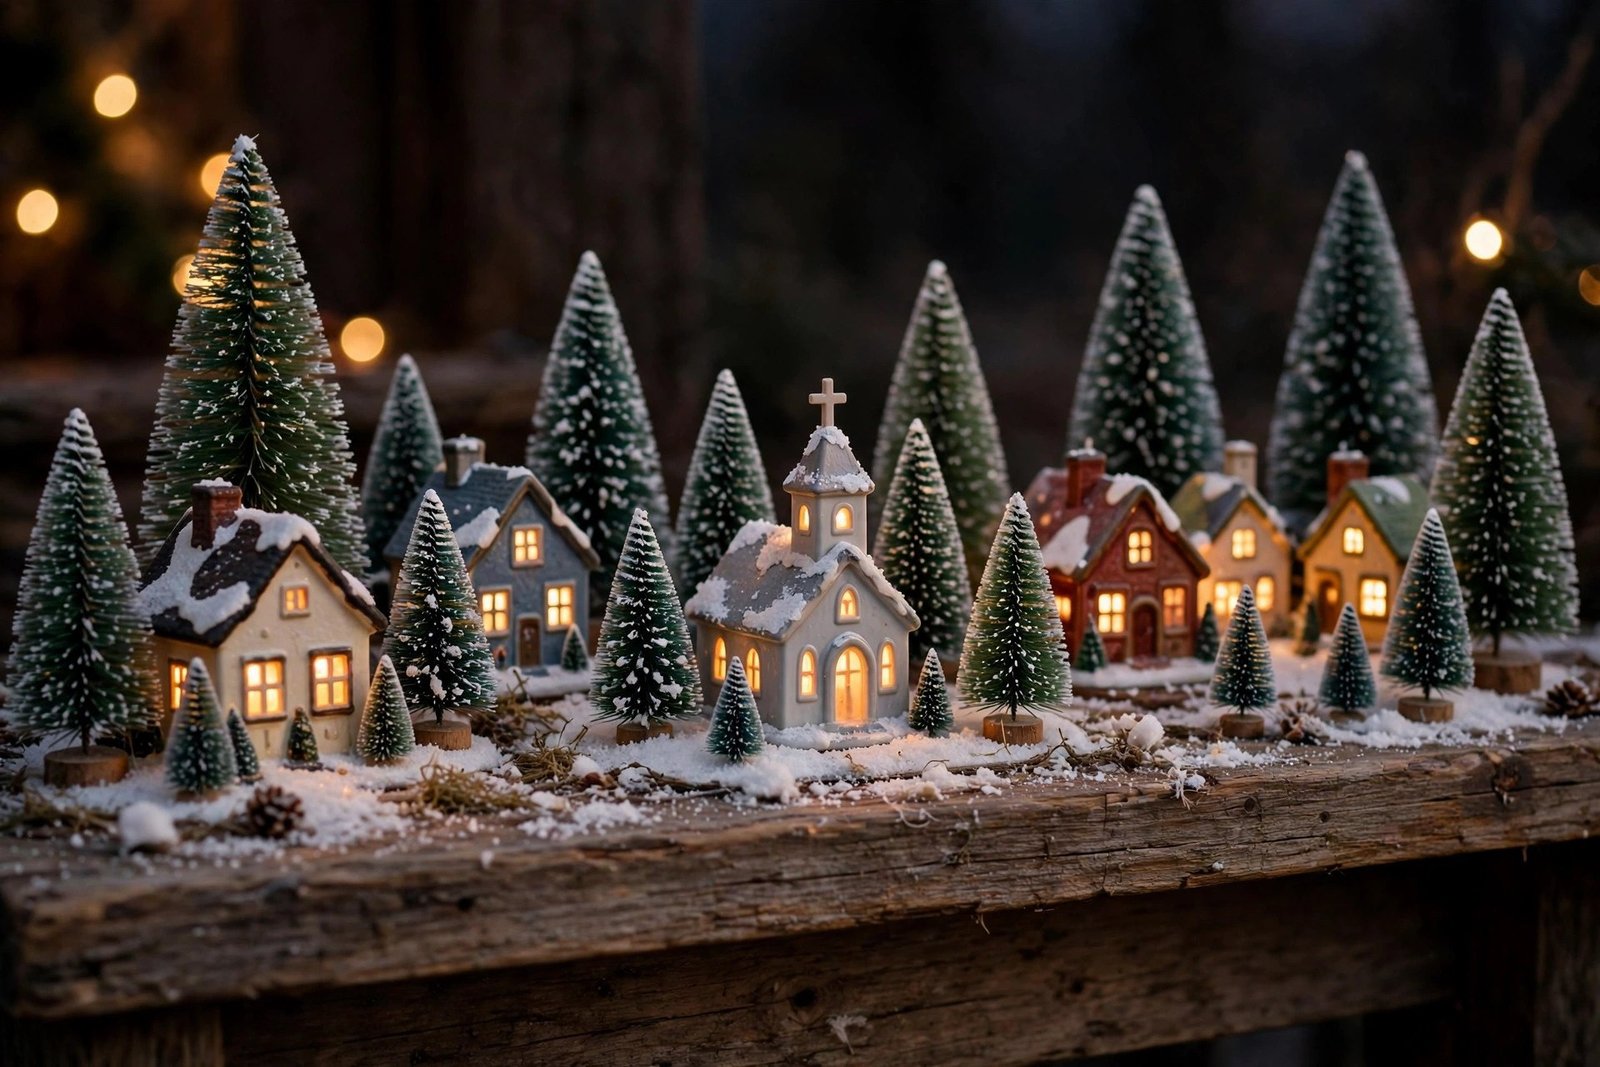
Why Are Christmas Village Sets Trending This Year?
Village sets are having a strong season because they deliver the biggest decorating effect from the smallest footprint. One shelf becomes a complete world, which suits small homes and renters who cannot spread decorations across every room. The look also feeds the same nostalgia driving handmade and storybook trends this year, echoing the miniature towns that appeared in shop windows and grandparents’ houses. Collectors enjoy the slow build, adding one building each year until the town carries a decade of memories. Social media favors villages too, because a lit night shot of a miniature snowy street photographs beautifully and reads instantly. Interest has climbed steadily through the second half of October as households plan their displays earlier than ever.
What Types of Christmas Village Sets Can You Buy?
The classic village is ceramic or porcelain, hand painted and lit from inside, sold as individual buildings that collectors combine into a town over many years. These sets carry the finest detail and the highest prices, and their warm window glow is the look most people picture. Wooden village sets feel calmer and more modern, often unlit or lit with a simple back panel, suiting Scandinavian and minimalist homes. Miniature budget sets in resin or plastic cost far less and survive children and pets, which makes them the right first set for many families. Themed sets build a specific scene instead, like a gingerbread village that pairs naturally with gingerbread Christmas decor, a harbor town, or a single street of shops. Whatever the material, the pieces inside one display must share a similar scale, because mixing sizes is what makes a village look accidental. You can compare current sets and building styles at Michaels before choosing your town’s character.
How Do You Choose the Right Village Set for Your Space?
Measure the display surface before buying a single house, because villages grow sideways faster than expected. A mantel or a bookshelf suits a single row of three to five buildings with trees between them. A sideboard or a wide shelf takes a two level town of eight to twelve pieces. Under the tree, a full circular village needs the most pieces and the most floor protection. Decide your scale early: the popular building heights run roughly four to eight inches, and staying within one brand’s range keeps roofs and doors in believable proportion. Budget for the scene, not just the houses, because snow blankets, trees, figures and lighting add a real share of the final cost. Start smaller than your ambition, since a tight, finished scene of five lit buildings beats a sparse dozen every time.

Where and How Do You Display a Christmas Village?
Levels are the whole secret of a convincing village. A flat row of houses reads as a shop shelf, while a town built on two or three heights reads as a place. Create levels with sturdy books, wooden crates, upside down boxes or foam blocks, all hidden under a white snow blanket or fabric that drapes like drifts. The Christmas mantle ideas approach works here too: tallest pieces at the back and center, smaller houses forward, trees filling the gaps. Under the tree, arrange the town in a ring or a crescent facing outward, keeping the front open so gifts still fit. In a kitchen or dining room, a village along a windowsill or the top of a cabinet glows over the room’s activity, echoing the displays in this kitchen Christmas decor guide. Keep villages away from real heat sources and out of reach of climbing pets, and never leave lit ceramic houses on a surface that a candle shares.
How Do You Light a Christmas Village Display?
Light is what turns models into a town at dusk. Most ceramic buildings carry a small bulb inside, and the cleanest setups run those bulbs from multi socket cords designed for villages, so one switch lights the whole street. Battery operated sets avoid cords entirely and suit shelves far from an outlet, at the cost of replacing or recharging batteries through the season. Warm white light suits the nostalgic look, while multicolor bulbs belong to playful, retro themed towns. Hide every cord under the snow blanket and behind buildings, because visible wiring breaks the illusion faster than anything else. A timer is the village’s best friend, switching the town on at dusk and off at bedtime so bulbs last and no one forgets a hot house overnight. Test every bulb before the snow goes down, because replacing one after the scene is built means dismantling a street.
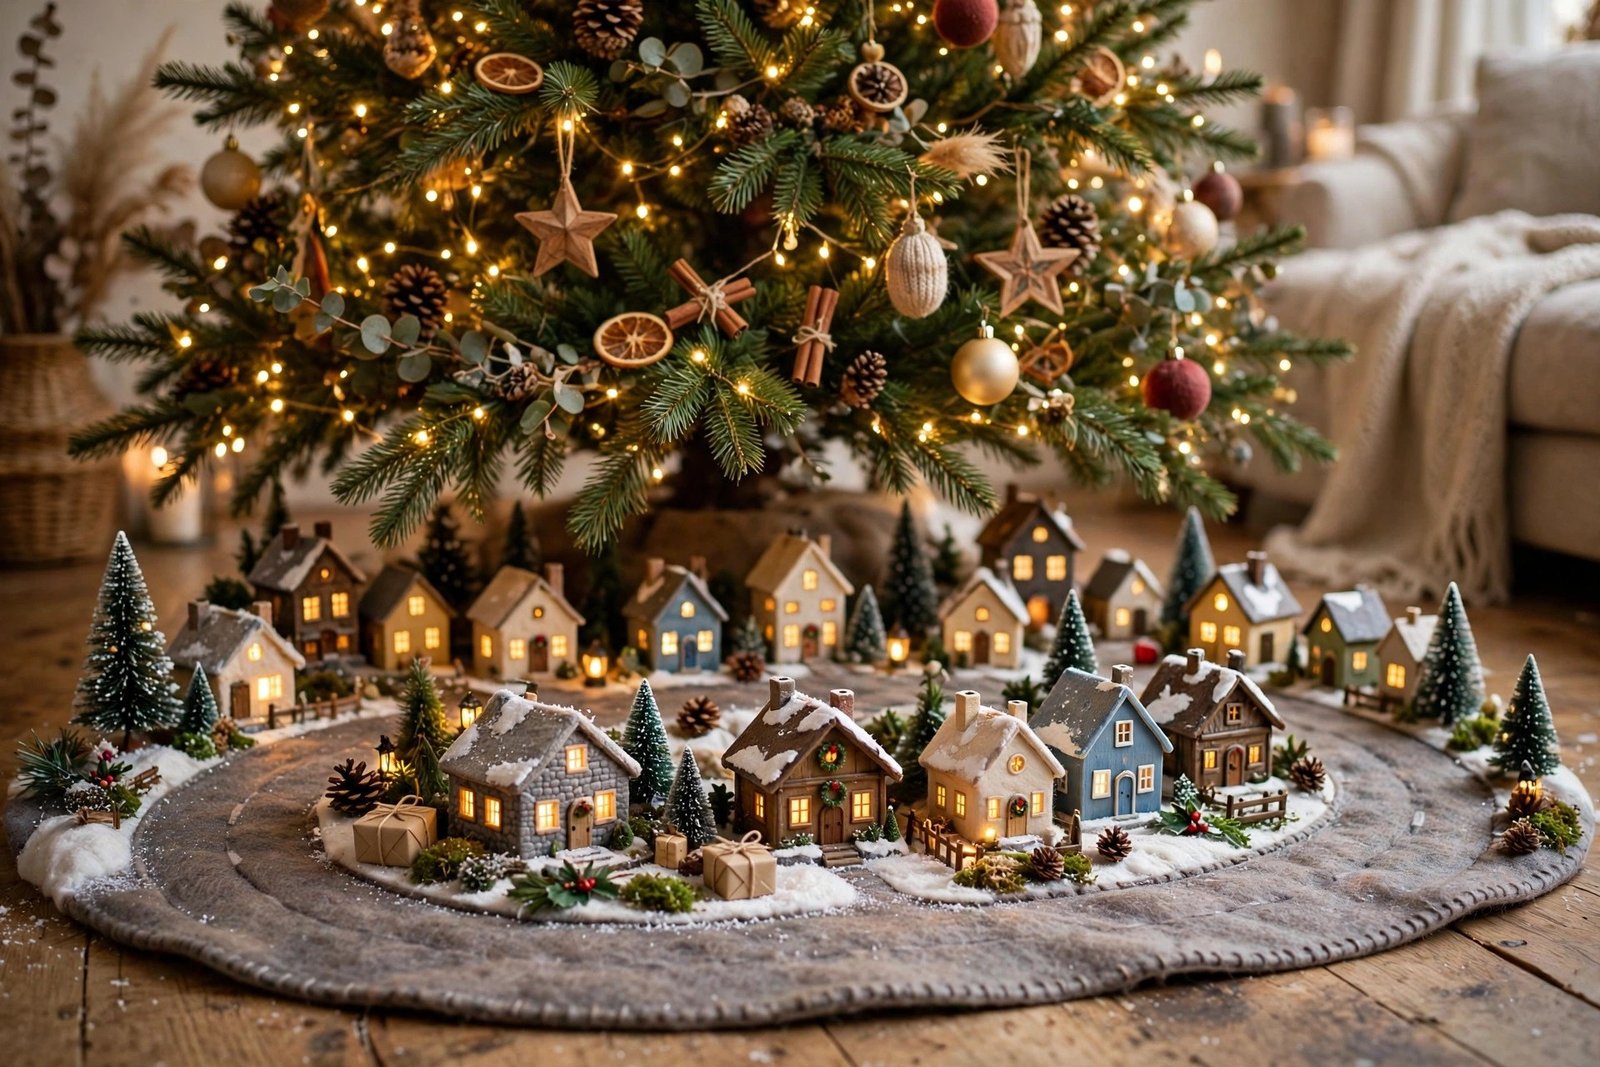
How Do You Build a Village Scene With Roads, Trees and People?
The details between the buildings sell the story. A road of dark felt, a mirror pond for skaters, or a simple path of flat stones gives the eye a route through the town. Bottle brush trees in two or three sizes fill gaps and set the scale, clustered like a small forest at the town’s edge and standing singly between houses. Figures should match the buildings’ scale and gather in small groups — carolers at the church, skaters on the pond, a lamppost figure or two along the road — rather than scattered evenly like chess pieces. Fake snow finishes everything: a blanket base, a soft dusting on roofs, and none on the road where tiny feet would have cleared it. Add one playful secret per scene, like a dog outside the bakery or a Santa on a single roof, because viewers who lean in close deserve a reward. If your tree needs the same scene building discipline above the village, follow a guide on how to decorate a Christmas tree for the layers that sit over it.
How Do You Store Village Pieces After Christmas?
Village pieces are fragile, painted and often wired, so storage decides whether the town returns complete. Photograph the finished display from several angles before touching it, because those photos become next year’s building plan. Keep every original box and foam insert whenever possible, since they fit their building exactly and protect chimneys and corners better than any substitute. Wrap unboxed pieces in tissue or bubble wrap individually, and never let painted surfaces rest against each other in a shared bin. Coil each light cord separately and store bulbs and accessories in a labeled small box with the set. Keep the whole village in one or two dedicated containers in a dry place away from attic heat, which warps resin and fades paint. One broken roof per season is the usual cost of careless storage, and it is entirely avoidable with an hour of careful packing.
Frequently Asked Questions
Three to five buildings make a complete first scene when they are arranged on levels with trees, figures and snow. A church or a tall centerpiece building, two houses and a shop cover most starter displays. The scene matters more than the count, so build the setting before buying more houses.
Most popular village buildings stand about four to eight inches tall and share a rough common scale within each brand’s range. Mixing brands is fine when the heights and door sizes look believable together. Buy one piece and compare it at home before committing to a mixed town.
A mantel, a wide shelf, a sideboard or the space under the tree are the classic spots. Choose a surface with an outlet nearby for lit sets, protection from heat and pets, and a viewing angle at eye level or below, since villages read best when you look slightly down into the streets.
Run the cords behind the buildings and under the snow blanket, using multi socket village cords so one line feeds several houses. Battery operated pieces remove cords completely on shelves far from outlets. A backdrop board behind the display hides the final run to the outlet.
Yes, many people keep the village up through January as winter decor, removing only the most Christmas specific figures like Santa. Keep lit pieces on a timer and away from heat, and dust the snow and roofs gently so the scene stays bright rather than grey.
Back in their original boxes with foam inserts whenever possible, or wrapped individually in tissue or bubble wrap inside a dedicated, labeled container. Store cords and accessories in a small box with the set, keep everything dry and away from attic heat, and photograph the display before packing it away.

At Decor Artly, we bring art, home decor, and personal style together to create beautiful spaces and inspiring lifestyles. Led by Design Director Roni, we offer curated artwork, elegant home accents, and personalized styling to help you express your unique taste.