
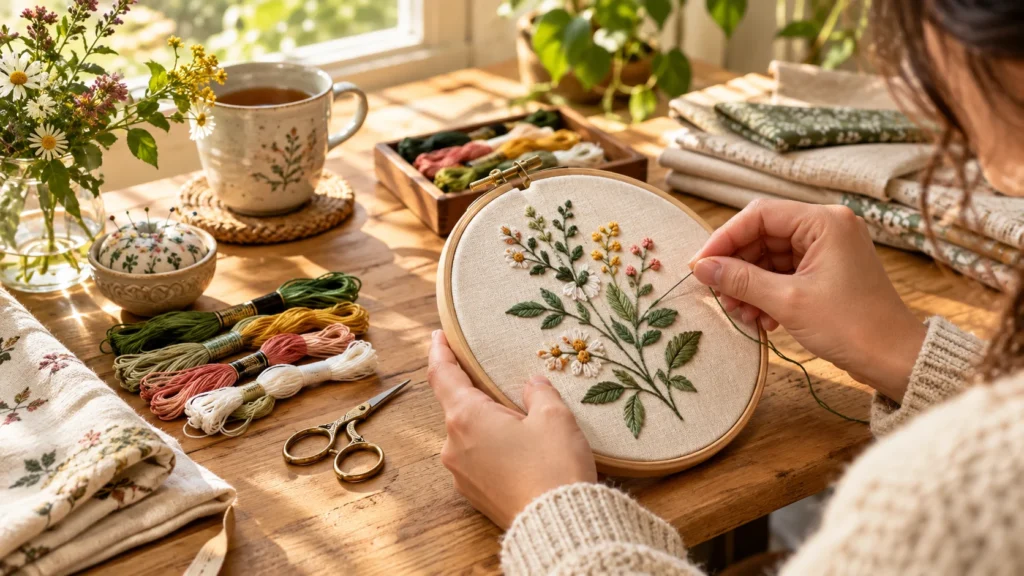
A few strands of thread, a small hoop, and a piece of fabric are enough to make something that looks at home in a gallery frame. That is the appeal of hand embroidery art: it turns a slow, tactile craft into images with texture and depth that printed art can’t match. It also has a gentler learning curve than it looks, because a handful of basic stitches cover most of what you’ll want to make. This guide covers what you need, which stitches to learn first, how to complete a first piece, and how to finish and display it so it reads as art rather than a craft project.
Quick Answer: What Is Hand Embroidery Art?
Hand embroidery art is the practice of using needle and thread to create decorative images on fabric, then finishing and displaying them as artwork, most often in a hoop or a frame. It differs from functional embroidery, like monograms on clothing, in that the finished piece is made to be looked at. To start, you need fabric, embroidery floss, a needle, a hoop, and a way to transfer a design. Learning about five basic stitches gets you through most beginner projects.
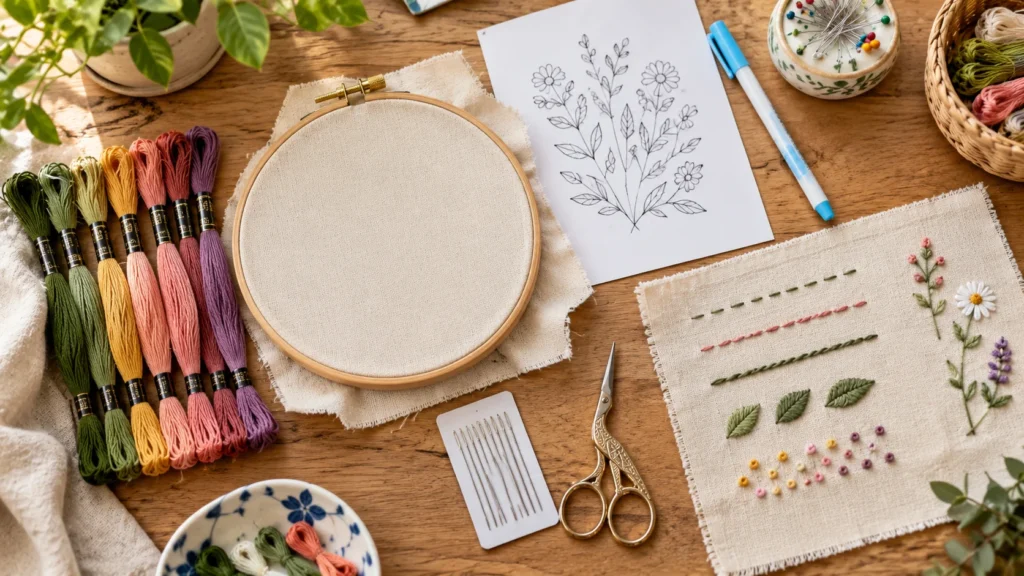
Hand Embroidery Art: Essential Supplies for Beginners
You don’t need a large kit, and buying a small set of quality basics usually beats a giant starter bundle full of things you’ll never use.
- Fabric: A tightly woven, medium-weight cotton or linen is the standard beginner choice. It holds stitches cleanly and doesn’t stretch out of shape. Very stretchy or very loosely woven fabrics are harder to control.
- Embroidery floss: Standard cotton floss comes as a skein of six strands that you can separate. Most beginners work with two or three strands at a time, which gives good coverage without looking heavy.
- Needles: Embroidery needles have a larger eye than sewing needles so floss threads through easily. A mixed pack of sizes lets you match the needle to the number of strands you’re using.
- Hoop: A wooden or plastic hoop holds the fabric taut, which prevents puckering. Small to medium hoops (roughly 5 to 8 inches) are easiest to handle at first.
- Small scissors: Sharp, small scissors give clean cuts on floss.
- Transfer tools: A water-soluble or heat-erasable fabric pen, or a tear-away or wash-away stabilizer, lets you get your design onto the fabric.
Good light and a comfortable seat matter more than any accessory. Embroidery is detailed work, and eye strain is the fastest way to lose motivation.
Core Stitches to Learn First
Most hand embroidery art relies on a small group of stitches used in different combinations. Learning these gives you a working vocabulary.
- Running stitch: The simplest stitch, made by weaving the needle in and out along a line. It’s useful for dashed lines and as a foundation for learning tension.
- Backstitch: Creates a continuous, solid line. It’s the workhorse for outlines, lettering, and fine detail.
- Stem stitch: Produces a slightly twisted, rope-like line that curves smoothly, which makes it a favorite for flower stems and flowing outlines.
- Satin stitch: Parallel stitches laid close together to fill a shape with smooth color. It looks simple but rewards patience, since uneven edges show easily.
- French knot: A small wrapped knot that adds dots and texture, often used for flower centers.
- Split stitch and chain stitch: Both add variety in line texture. Split stitch works well for outlines that need to follow tight curves, and chain stitch creates a bold, looped line.
Practicing each stitch on a scrap of fabric before starting a piece saves frustration. Consistent tension, meaning stitches that lie flat without pulling the fabric, matters more than speed.
Starting Your First Piece Step by Step
- Choose a simple design. A single flower, a small botanical sprig, or a short word works well. Fewer shapes and limited colors keep the first piece manageable.
- Transfer the design to the fabric. Trace the pattern using a water-soluble pen, or use a wash-away stabilizer. Keep lines light so they’re easy to cover.
- Secure the fabric in the hoop. Place the fabric over the inner ring, press the outer ring over it, and tighten the screw until the fabric is drum-tight without distorting the weave.
- Thread the needle. Separate the strands you need from the skein, cut a length roughly the span of your forearm, and thread it. Longer thread tangles and frays.
- Start with a secure anchor. Tie a small knot at the end, or use a waste knot technique that keeps the back tidy.
- Stitch outlines first, then fills. Working outlines before fills keeps shapes crisp.
- Finish threads neatly. Weave the end under a few stitches on the back rather than leaving long loose tails.
- Remove the transfer marks. Follow the instructions for your marking tool, whether that’s dabbing with water or applying heat.
Choosing Designs, Colors, and Fabric
Modern hand embroidery art often looks best with a restrained palette, since two to four thoughtfully chosen colors read as more deliberate than a rainbow of unrelated shades. Choose a background fabric color that supports your thread colors. White or cream fabric makes brights look clean, while a darker fabric can make lighter threads glow.
For subject matter, botanical and nature designs are popular for good reason: leaves, petals, and stems map neatly onto the core stitches. Lettering and simple line drawings are also beginner-friendly, since backstitch alone can carry them. As you grow more confident, you can move into layered shading with long-and-short stitch, which blends colors much like painting.
Finishing and Displaying Your Work
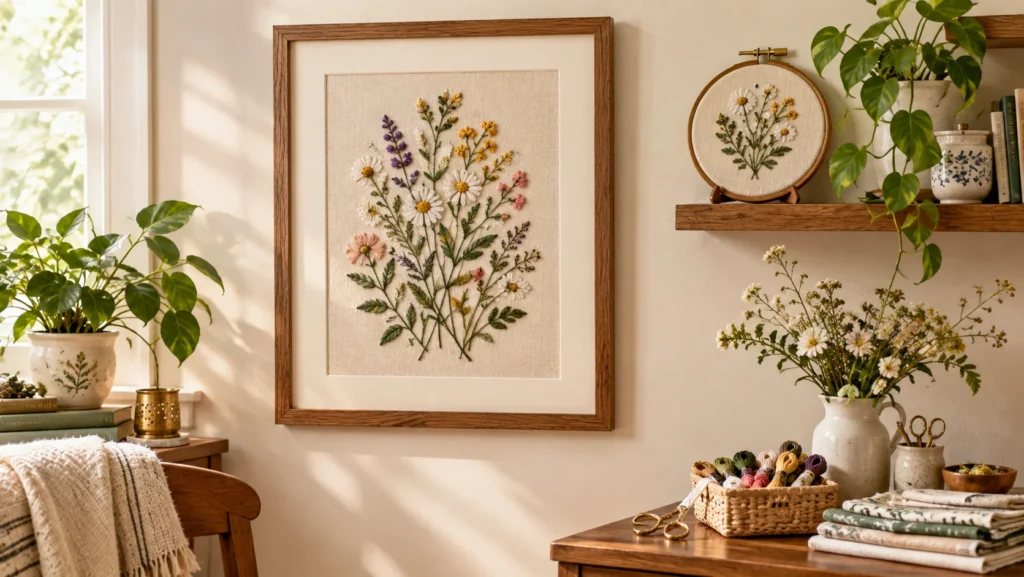
How you finish a piece often decides whether it looks handmade in a good way or unfinished. The two most common display methods are hoop framing and traditional framing.
Hoop framing keeps the piece in its embroidery hoop. Trim the excess fabric to about an inch or two beyond the hoop, then either gather the edge with a running stitch and pull it snug on the back, or glue and cover it with a felt circle for a clean finish.
Traditional framing places the embroidery behind glass or acrylic in a picture frame, usually with a mat. This protects the stitching from dust and light and suits more detailed work. Before framing, gently press the piece from the back on a padded surface so stitches aren’t flattened.
Keep finished pieces out of direct sunlight, which can fade thread over time, and avoid displaying them in humid areas. If a piece needs cleaning, a gentle soak in cool water with a small amount of mild soap, followed by drying flat, is a common approach, though colorfastness of the specific floss is worth checking first.
Common Mistakes to Avoid
Pulling stitches too tight. Overly tight tension puckers fabric and distorts shapes. Stitches should lie flat, not tug.
Using thread that’s too long. Long lengths tangle and fray, which weakens the thread and creates messy stitches.
Skipping the hoop or loosening it mid-project. Fabric that isn’t taut leads to puckered results that are hard to fix once the piece is done.
Making the back messy. Long jumps between areas and big knots can show through the front on lighter fabric, so keep backs tidy.
Starting with an overly complex design. A first project with dense fills and many colors often ends unfinished. A small, simple design builds skill and confidence.
Expert Tips
- Practice each new stitch on scrap fabric before using it on a finished design.
- Keep thread lengths short and let the needle hang occasionally so twisted floss can untwist itself.
- Take a photo of your piece under good light before framing. Progress photos are useful for learning what worked.
- Store floss organized by color number, since matching a shade later is much easier with the label.
Frequently Asked Questions
It’s the use of needle and thread to create decorative images on fabric that are then displayed as artwork, typically in a hoop or frame, rather than used as functional trim.
At minimum: fabric, embroidery floss, embroidery needles, a hoop, small scissors, and a way to transfer a design, such as a water-soluble pen or stabilizer.
Running stitch, backstitch, and stem stitch are the easiest starting points, followed by satin stitch and French knots as your tension improves.
A tightly woven, medium-weight cotton or linen is generally the easiest to work with, because it holds stitches cleanly and doesn’t stretch out of shape.
Many beginners use two or three strands from the six-strand skein, which gives good coverage while keeping stitches neat. Fewer strands suit fine detail, and more suit bold lines.
Common methods include tracing with a water-soluble or heat-erasable pen, or using a stabilizer you can stitch through and then tear away or wash off.
Keep the fabric drum-tight in the hoop and avoid pulling stitches too tight. Stitches should lie flat against the surface.
The most common methods are hoop framing, where the piece stays in its hoop with a finished back, and traditional framing behind glass or acrylic.
Yes, often with a gentle soak in cool water and mild soap, dried flat, though it’s wise to check that your floss is colorfast first.
Final Takeaway
Hand embroidery art rewards small, deliberate steps. Start with a simple design, a handful of supplies, and a few core stitches, and focus on even tension and a tidy finish rather than complexity. The piece you stitch first will teach you more than any tutorial, and a well-finished hoop on your wall is a solid reason to start a second one.
At Decor Artly, we bring art, home decor, and personal style together to create beautiful spaces and inspiring lifestyles. Led by Design Director Roni, we offer curated artwork, elegant home accents, and personalized styling to help you express your unique taste.