
Press on Nails: A Beginner’s Guide to Choosing, Applying and Removing Them
Press on nails are pre-shaped artificial nails that you stick onto your natural nails with glue or adhesive tabs, and they have become the easiest way to get a finished manicure at home. If you have ever paid for a salon set and watched it chip within days, press on nails offer a cheaper, faster and far less committing alternative. This guide explains how press on nails work, how to pick the right size and shape, how to apply them so they last, and how to take them off without harming your natural nails. It is written for beginners, but the fit and prep sections will help experienced wearers too. By the end, you will know whether press on nails suit your lifestyle and how to get the most out of every set.
Quick Answer
Press on nails are ready-made nail tips attached with adhesive. With nail glue they usually last one to two weeks; with adhesive tabs, often only a few days. To make press on nails last, choose the correct size, clean and dry the nail plate, press each nail down firmly for about 30 seconds, and keep them out of water for the first hour. Remove press on nails by soaking, never by pulling or prying.
What You Are Actually Buying
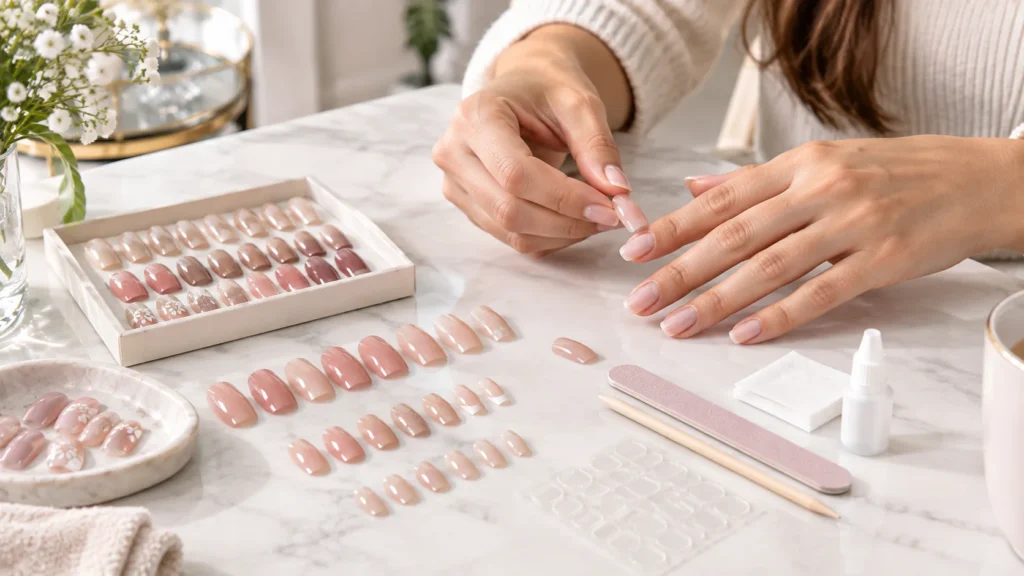
A typical box of press on nails contains 24 or more nails in about 10 to 12 sizes, a small file or buffer, a cuticle stick, alcohol prep pads, and either a tube of glue or a sheet of adhesive tabs. Some brands sell press on nails on their own and expect you to supply the rest.
Materials and Finishes
Most press on nails are made from ABS plastic, and press on nails in this material are light, cheap and easy to file. Premium press on nails often use soft gel, which flexes a little more and feels closer to a natural nail. Finishes for press on nails range from plain colors to chrome, glitter, French tips and hand-painted art. Matte press on nails tend to show scratches sooner, so glossy press on nails are more forgiving for beginners.
Shapes and Lengths
The common shapes for press on nails are round, square, squoval, almond, coffin and stiletto. Length in press on nails runs from short and natural to extra long. Longer press on nails look dramatic, but they also catch on fabric, keyboards and car door handles, which is the main reason people lose a nail in the first week.
How to Choose the Right Size
Size is the single biggest factor in whether press on nails look good and stay put. A press on nail that is too wide will pop off the sides. A press on nail that is too narrow leaves a visible gap and tends to lift at the edges.
The simplest method is to lay each nail against your natural nail before you open any glue. The press on nail should span from sidewall to sidewall without overlapping your skin. If you fall between two sizes, choose the smaller one and file the edges slightly; a slightly narrow nail looks tidier than a wide one and is less likely to snag.
Most people new to press on nails make the mistake of sizing only one hand. Your thumbs are usually the widest, and your two hands are rarely identical, so lay out both hands in order and sort every nail before you start.
Choosing Between Glue and Adhesive Tabs
The adhesive you use decides how long press on nails last and how easy they are to remove. Neither is better in every case.
| Feature | Nail glue | Adhesive tabs |
|---|---|---|
| Typical wear time | About one to two weeks | Often a few days |
| Hold strength | Strong | Moderate |
| Removal | Needs soaking | Easier, still needs care |
| Best for | Events, holidays, busy weeks | One-night wear, trying a set |
| Risk to natural nail | Higher if forced off | Lower |
Glue gives press on nails the stronger bond, but the cost is that a badly applied nail is harder to fix. Tabs are forgiving and quick, which makes them a sensible first step for anyone trying press on nails for the first time. Many experienced wearers of press on nails combine both: a tab across the centre of the nail for grip and a thin line of glue along the edges for security.
What to Prepare Before You Start
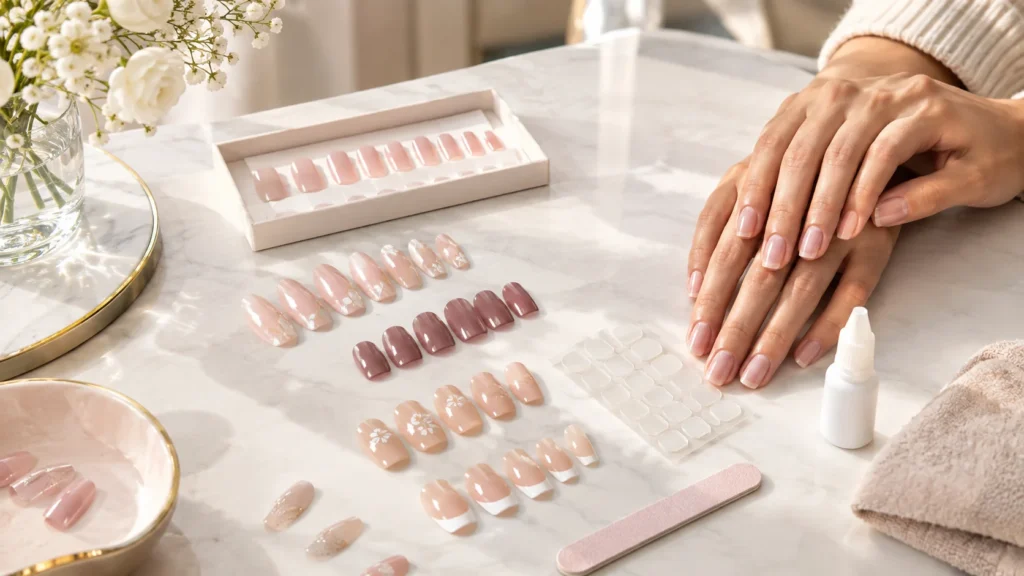
Good prep takes about ten minutes and matters more than the brand of press on nails you buy. Gather these items before you begin:
- Your set of press on nails, sorted by size
- A nail file and a soft buffer
- A cuticle pusher or orange stick
- Isopropyl alcohol or the prep pads from the box
- Nail glue or adhesive tabs
- A small dish of warm water and a towel
Wash and dry your hands first. Oil from lotion or cooking is the enemy of every adhesive, so skip hand cream until after you finish.
Step-by-Step Application
- Push back the cuticles. Gently move the cuticle away from the nail plate. Adhesive that touches skin lifts sooner.
- Buff the shine. A few light passes remove the gloss so the adhesive grips. Do not file hard; you only want to dull the surface.
- Wipe with alcohol. This removes oil and dust. Let it dry completely.
- Match each nail to a finger. Do a dry run and set your press on nails out in order.
- Apply adhesive. For glue, use a thin layer on the natural nail and a small dot on the back of the press on nail. For tabs, stick one to the nail and press it flat.
- Place at an angle. Slide each press on nail on from the cuticle end at roughly 45 degrees, then lower it flat. This pushes air out and prevents bubbles.
- Hold firmly for 30 seconds. Press from the centre outward.
- Wipe away excess glue. Do this straight away, before it hardens on your skin.
Keep new press on nails away from water, hot tubs and washing dishes for at least an hour so the bond can cure fully. If you wear gloves for cleaning during your first day, it will pay off.
Wear Time and How to Make a Set Last
Wear time for press on nails depends on your nails, your work and your prep. A person who types or cooks all day will usually see more lifting than someone with a desk job and gentle habits. As a general guide, glued sets can reach the one to two week mark when applied carefully, while tab-only sets are best treated as short-term wear.
To extend wear:
- Seal the free edge with a thin line of glue after placing each of your press on nails
- Keep press on nails short to medium, since leverage from length breaks the bond
- Use a hand cream at night, but never right before application
- Open cans and packets with a tool, not your fingertips
- File rough edges as soon as they appear so they do not snag
Press on nails vs Salon Manicures: Which Should You Choose?
Press on nails, gel manicures, acrylics and dip powder each solve a different problem. The right choice depends on your budget, your schedule and your tolerance for damage.
| Option | Time to apply | Wear time | Removal | Main downside |
|---|---|---|---|---|
| Press on nails | About 20 to 40 minutes at home | Days to two weeks | Soak at home | Fit varies by set |
| Gel manicure | Salon visit | Typically two to three weeks | Soak or file off | Repeated removal can thin nails |
| Acrylics | Long salon visit | Weeks with fills | Professional removal | Highest maintenance |
| Dip powder | Salon visit | Typically several weeks | Soak in acetone | Can be harsh on nails if scraped off |
The clear advantage of press on nails is control. You can change your look every week, skip the salon appointment, and take them off the same day if a nail hurts or an event changes. The clear disadvantage is that they rarely match a skilled technician’s custom fit, so a salon service is still the better pick for a wedding or a long trip where you cannot risk a lifting nail.
Safe Removal
The golden rule is patience. Pulling press on nails off can peel layers of your natural nail with them, which leaves thin, sore nails that take weeks to recover.
Press on nails removal without damage
Press on nails come off cleanly when you soften the adhesive first. Use this method:
- File the top surface lightly to break the seal of any colored coating.
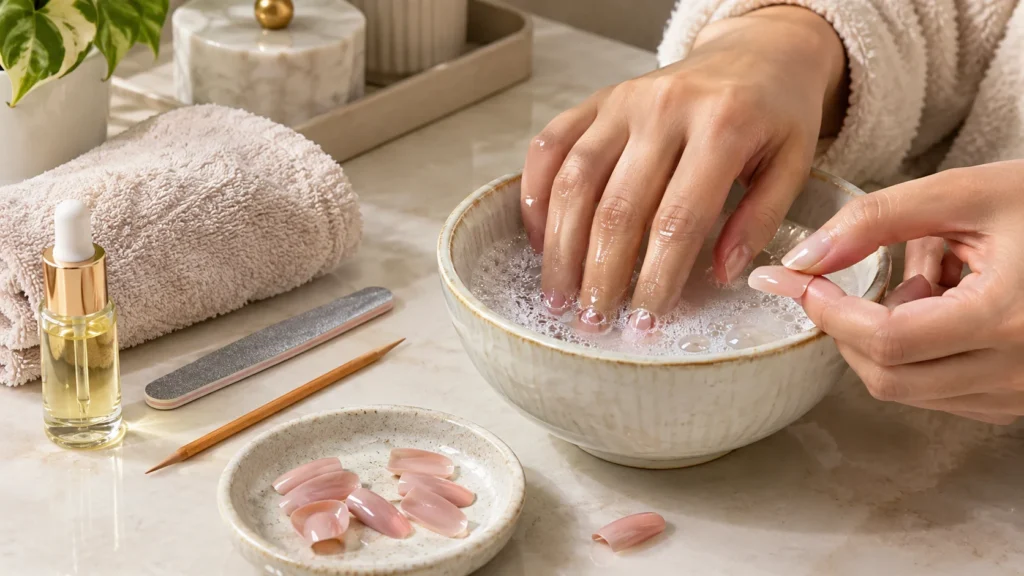
- Soak your fingertips in warm soapy water for 10 to 15 minutes. If the nails are glued, use an acetone-based remover or the remover recommended by the manufacturer, and follow the safety instructions on the label.
- Slide an orange stick gently under the edge and let it lift by itself.
- Stop if a nail resists. Soak again rather than forcing it.
- Buff away leftover adhesive gently and apply cuticle oil.
Wait a day or two before the next set of press on nails if your nails feel tender, and use the break to moisturize.
Reusing a Set
Many press on nails can be worn more than once, especially sets applied with tabs. Clean off old adhesive with a little remover on a cotton pad, wipe the inside with alcohol, and store your press on nails flat in the box. Glue leaves residue that is harder to remove, so press on nails stuck down with strong glue are more likely to be single-use in practice. Do not reuse a press on nail that is cracked or bent, since the weakened plastic will lift again.
Common Mistakes Beginners Make
- Skipping the prep. Most early lifting comes from oil or moisture on the nail.
- Using too much glue. A thick layer squeezes onto the skin and fails to hold.
- Choosing the wrong size to save time. A poor fit is nearly impossible to fix with adhesive, however good your press on nails are.
- Going too long too soon. Extra-long press on nails are harder to control while you are still learning.
- Pulling press on nails off when one lifts. A lifting nail should be soaked and refitted, not ripped away.
- Ignoring discomfort. Pain, redness or swelling means stop and remove them.
Troubleshooting Common Problems
Press on nails pop off in a day or two. Check for oil, incomplete drying and loose sizing on your press on nails. Re-prep the nail and use a thin coat of glue.
Press on nails lift at the cuticle. The adhesive probably touched skin, or the nail was pressed down flat rather than from the cuticle first. Refit with a small gap from the skin.
Air bubbles show under press on nails. You laid the nail down too fast. Lift it early, reposition and press from the centre outward.
Natural nails feel weak afterward. This usually comes from forcing press on nails off or aggressive buffing. Rest your nails and use oil daily.
Skin around the nail is itchy or red. Some people react to adhesives. Remove the set, wash your hands, and speak to a doctor or pharmacist if it persists.
Expert Tips for Better Results
- Apply press on nails on the evening before an event, not an hour before, so the bond has time to settle.
- Keep a small file and spare glue in your bag for quick repairs.
- When buying press on nails, match the nail width first and worry about the design second.
- Wear gloves for washing dishes, and avoid using press on nails as tools.
- Choose short almond or squoval press on nails if you are unsure; they are practical and flattering.
- Rotate sets of press on nails so your natural nails get regular breaks.
When Not to Wear Them
Skip press on nails if you have an active nail infection, a painful injury, an open wound near the nail, or a known allergy to adhesives. If a nail is separating from the bed or you notice unusual discoloration, speak to a healthcare professional before covering it. People whose work involves constant hand washing, heavy manual tasks or strict hygiene rules may also find that press on nails are impractical.
Cost and Value
The upfront price of press on nails is usually lower than a single salon visit, and reusable sets can stretch value further. Costs vary widely by brand and design, so compare per wear rather than per box. A cheap set of press on nails that fits poorly and lasts a day is not good value, while a well-fitting mid-range set worn twice often is.
Frequently Asked Questions
Press on nails are not harmful when they are applied and removed correctly. Damage usually comes from prying them off or over-buffing. Rest your nails between sets of press on nails and moisturize.
Press on nails typically last one to two weeks with glue and a few days with adhesive tabs, depending on prep, nail length and daily activity.
Yes, once the bond on your press on nails has cured, which takes about an hour. Long hot soaks and washing dishes for extended periods will shorten wear.
Often yes, especially if you used tabs. Clean off old adhesive, keep the nails flat and avoid reusing any that are cracked or bent.
They do. Choose a size that matches the width of your nail bed, or file the sides slightly for a better fit.
Glue lasts longer; tabs are easier to remove. Beginners often start with tabs and move to glue once they are confident.
Soak in warm soapy water, lift gently with an orange stick and stop if a nail resists. For glued sets, use a suitable remover.
You can, but giving your natural nails regular breaks between sets helps keep them healthy.
The usual causes are oil on the nail, the wrong size, too much glue and not holding each nail down long enough.
Place each nail against your natural nail. It should cover it from sidewall to sidewall without touching the skin.
Final Takeaway
Press on nails reward preparation more than skill. Sort your sizes, prep every nail, use a thin layer of adhesive and remove them slowly, and press on nails can look as good as a salon set for a fraction of the time. Start with a short, simple shape, try tabs for your first set, and move to glue once you trust your fit. If you are ever unsure, choose comfort over length.

At Decor Artly, we bring art, home decor, and personal style together to create beautiful spaces and inspiring lifestyles. Led by Design Director Roni, we offer curated artwork, elegant home accents, and personalized styling to help you express your unique taste.