
Halloween Makeup Styles: A Beginner’s Guide to Looks That Actually Work
Halloween makeup styles range from a ten-minute smudged-eye ghoul to a full skeleton face that takes an hour and a steady hand. Most beginners don’t struggle because they lack talent. They struggle because they pick a look that doesn’t match their time, tools, or skin, then discover at 6 p.m. on October 31 that the white paint won’t stay put.
This guide helps you choose a look that fits your skill level, build it step by step, and keep your skin comfortable while you do it. You’ll find a comparison table, two full tutorials, safety basics, common mistakes, and answers to the questions people ask most. If you’re still deciding on a costume, our [easy costume ideas for adults] are a good place to start.
Quick Answer: Which Look Should You Pick?
For a beginner, the best Halloween makeup styles are the ones built on simple shapes and high contrast: a half-skeleton, a vampire with dark eyes and pale skin, or a smoky zombie. Each takes 15 to 30 minutes with basic products. Choose by time available, not by what looks most impressive in photos.
Halloween Makeup Styles by Skill Level and Time
The easiest way to choose is to match the look to the hour you have and the tools in your bag. Here is how the most popular options sort out.
Halloween Makeup Styles for Beginners in Under 20 Minutes
These looks rely on products you may already own: eyeliner, eyeshadow, and a lip color.
- Smudged ghoul: dark, blended shadow around the eyes, hollowed cheeks, pale lips. It is hard to get wrong because the mess is the point.
- Black cat: a winged liner shape, a small nose, and drawn whiskers.
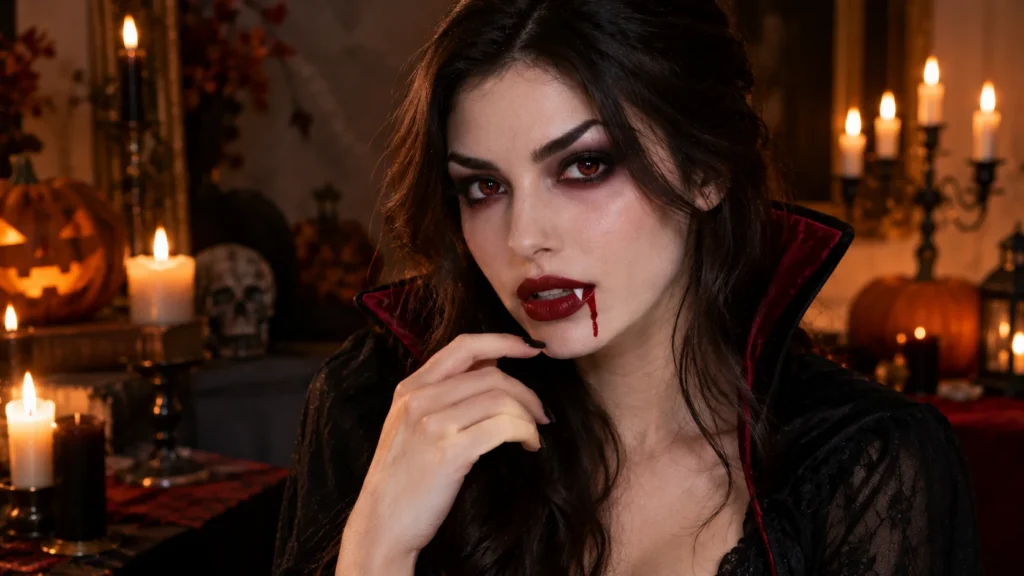
- Simple vampire: a pale base, deep red or burgundy lips, and a trickle of fake blood at one corner.
The trade-off is that these looks can read as “just dark makeup” without a costume to anchor them. Pair them with a collar, ears, or a cape so people see the character right away.
Intermediate Looks That Take 30 to 45 Minutes
These need face paint or cream makeup and some blending.
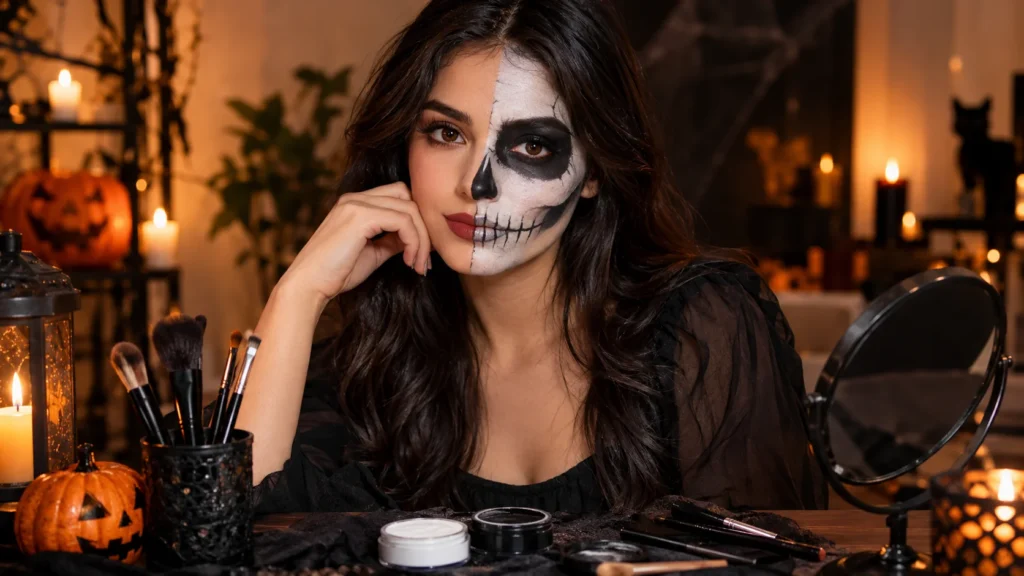
- Half skeleton: painting only one side of the face halves the work and gives a striking contrast.
- Zombie: a gray-green base, shadowed sockets, and cracked or peeling effects built with a few layers.
- Witch: a green or purple tint, heavy brows, and exaggerated shapes around the eyes and chin.
Advanced Looks That Need an Hour or More
Full-face skeletons, detailed sugar skull designs, and special-effects wounds that use scar wax or latex all fall here. They work best when you’ve practiced the design at least once. If you try a sugar skull, remember that the imagery comes from Día de Muertos, a celebration of remembered loved ones, so treat it with some respect rather than as a joke.
Comparison Table
| Look | Difficulty | Time | Cost to start | Main risk |
| Smudged ghoul | Easy | 10–15 min | Low | Looks unfinished without a costume |
| Black cat | Easy | 10–15 min | Low | Uneven wings |
| Simple vampire | Easy | 15–20 min | Low | Pale base looks patchy |
| Zombie | Medium | 30–40 min | Medium | Product cracking |
| Half skeleton | Medium | 30–45 min | Medium | Uneven line down the face |
| Witch | Medium | 30–40 min | Medium | Color staining the skin |
| Full skeleton | Hard | 60+ min | Medium to high | Smudging and fatigue |
What Makes a Costume Look Hold Up on Skin
Every convincing look rests on three ideas: contrast, shape, and setting.
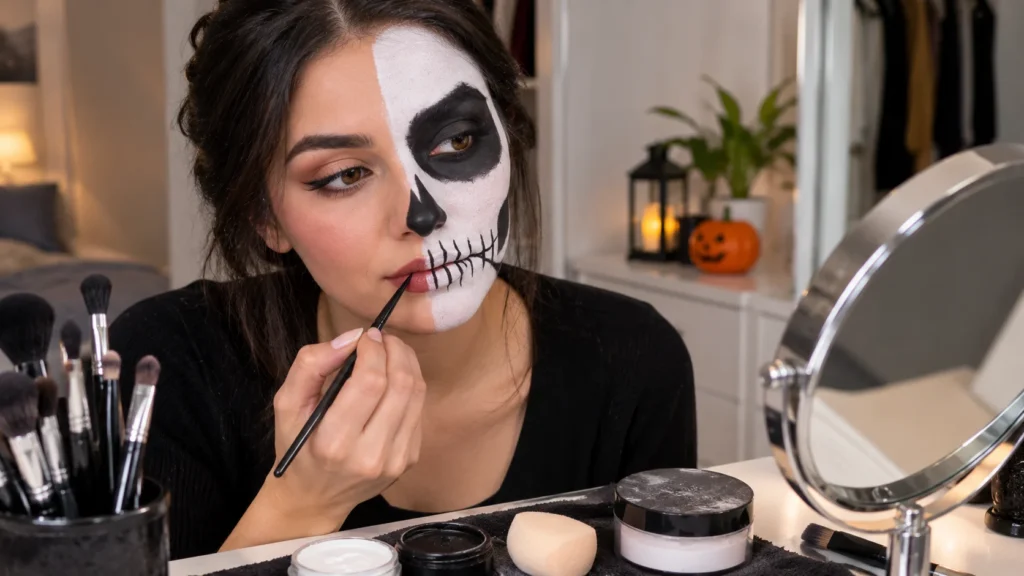
Contrast is what makes a design readable from across a room. Light against dark, such as white paint beside black sockets, does more than any detail work. If a look seems flat in the mirror, add darkness where shadows would naturally fall: eye sockets, under the cheekbones, the sides of the nose.
Shape matters more than precision. A skeleton is a few large shapes: eyes, nose, teeth. Beginners often try to draw too many small details, which turn muddy when the paint moves.
Setting is what keeps the work in place. Cream and water-based products stay soft and tend to crack, smear or fade unless you lock them down with powder or a spray labeled for that purpose. Always check the manufacturer’s instructions for the specific paint you’re using.
Tools and Products You Actually Need
You do not need a professional kit. In practice, a few cheap items cover most beginner looks.
Skin Prep Basics
Start with a clean, dry face and a light moisturizer. Let it absorb for a few minutes. If you wear sunscreen, apply it first and let it settle. Makeup applied to damp or greasy skin slides around, which is the most common reason a base looks patchy.
A Realistic Starter Kit
- White and black face paint, either water-activated or cream (cosmetic-grade)
- A small flat brush and a fine detail brush (see our guide to [best makeup brushes for beginners])
- A makeup sponge for even coverage
- Black eyeliner for sharp lines
- Translucent setting powder
- A setting spray made for makeup
- Makeup remover or cleansing oil, and cotton pads
- A small mirror and good lighting
Buy products labeled for cosmetic use on skin. Craft paint and school markers are not made for faces.
Step-by-Step Skeleton Face for Beginners
This version is a simplified full-face design and can easily be done on half the face.
- Prep the skin. Moisturize lightly and let it absorb.
- Apply the white base. Use a sponge and dab on thin layers. Avoid thick coats, which crack.
- Set it. Press translucent powder over the white so the next layers don’t drag it.
- Mark the eye sockets. Use black paint or shadow to draw large circles around your eyes. Blend the edges outward slightly.
- Draw the nose. Paint an upside-down heart or two small triangles over the nostrils.
- Add teeth. Draw a line across each lip, then short vertical lines across it. Keep them even by working left to right.
- Add cheek hollows. Blend gray or black under the cheekbones.
- Set again. Lightly spray with a makeup setting spray. Hold the bottle at arm’s length.
A common problem is unevenness down the middle. If it bothers you, lightly draw guide marks with eyeliner before painting.
Step-by-Step Vampire Look in Six Moves
- Apply a pale or neutral-light base, blending down the neck so there’s no line.
- Add gray or purple shadow in the hollows under the eyes.
- Define the brows with a dark pencil, slightly angled.
- Darken the outer corners of the eyes with brown or black shadow.
- Apply deep red lipstick and fill the lips completely.
- Add a small drop of fake blood at the lip or neck, only after everything else is set, and only products made for skin.
This look works because it’s mostly about a pale face with dark accents. It is also easy to adapt to different skin tones: choose the lightest shade you like for the base and rely on contrast from darker shading and lips.
Safety Basics for Costume Makeup
Costume makeup goes on the face, often near the eyes and mouth, so it deserves some caution.
- Check labels. The U.S. Food and Drug Administration advises using products labeled for cosmetic use and avoiding items that don’t list ingredients. Products not intended for skin may contain colorants that are not approved for use on the face.
- Patch test. Apply a small amount on the inner forearm at least a day before. If you see redness, itching, or swelling, don’t use it on your face.
- Be careful around the eyes. Use only products labeled for use near the eyes.
- Decorative contact lenses need a prescription and a proper fitting; the FDA warns against buying them without one.
- Remove it all. Don’t sleep in costume makeup.
If you have sensitive skin or a skin condition, talk to a doctor or dermatologist before using new products. This guide is general information, not medical advice.
Common Mistakes and How to Fix Them
- Applying too much product at once. Thick layers crack. Use thin layers and let each dry.
- Skipping the setting step. Without powder or spray, even good work smears. Set after the base and again at the end.
- Starting without a plan. Sketch the main shapes lightly with eyeliner first.
- Choosing a look that is too hard. If you’ve never used face paint, don’t try a full-face design on the night of the party. Practice on a different day.
- Using the wrong products. Craft paint is not skin-safe.
- Forgetting the neck and hairline. A visible edge ruins the effect. Blend downward.
- Not planning for removal. Cream products often need an oil-based cleanser. Allow time and don’t scrub hard.
Expert Tips for Longer Wear
In practice, a few small habits make the biggest difference.
- Do a full test run a few days before, so you know the time and the problems.
- Take a photo in good light during practice. Mirrors flatter you, but photos show what others will see.
- Pack a mini touch-up kit: a small brush, a pencil, and powder.
- If you will be dancing or sweating, choose fewer layers and set well.
- Work in natural light when you can.
- Wipe off with an oil-based cleanser first, then wash normally, since that approach is generally gentler than scrubbing.
When to Skip the Full Face
A full-face design isn’t always the right call. Consider something simpler when:
- You’ll be wearing a mask, a helmet, or a heavy wig that touches the face.
- You will be eating, drinking, or talking all night, since lipstick and paint wear off.
- You have sensitive skin and no time for a patch test.
- You have under 20 minutes.
- Children are involved. Use products labeled for kids, and keep designs simple.
For these cases, accent makeup on just the eyes or one cheek combined with a strong costume piece is often the better choice. If you’re still choosing, see our guide to [DIY Halloween costumes].
FAQs
A smudged ghoul or a simple vampire is easiest. Both rely on shading and basic products rather than precise lines, and neither takes more than 20 minutes.
Simple looks take 10 to 20 minutes. Zombie or half-skeleton designs take 30 to 45. Full-face designs can take an hour or more, especially the first time.
Apply thin layers, let each layer dry, and set with powder. Avoid thick coats and don’t over-stretch your face while the paint dries.
Yes. Eyeshadow, eyeliner, and lipstick work well for easy designs. For solid white or bold colors, face paint made for skin gives more coverage.
It can be, but sensitive skin reacts more often. Choose products made for skin, check labels, and patch test first. See a doctor if you have a known condition.
Start with an oil-based cleanser or makeup remover to loosen the product, wipe gently, then wash with a mild cleanser. Moisturize afterward.
Prep with moisturizer, use thin layers, set with powder, and finish with a makeup setting spray. Bring a small touch-up kit.
Only use products labeled safe for children, keep designs simple and away from the eyes, and patch test. Remove everything before bed. Our [kids’ Halloween costume ideas] have easy pairings.
Final Takeaway
The best Halloween makeup styles are not the most complicated ones. They are the ones you can finish on time, wear comfortably, and remove safely. Pick one look from the table, do a practice run this week, and keep your products simple. If it goes well, you can add detail next year.

At Decor Artly, we bring art, home decor, and personal style together to create beautiful spaces and inspiring lifestyles. Led by Design Director Roni, we offer curated artwork, elegant home accents, and personalized styling to help you express your unique taste.
Pingback: Halloween Costume Inspiration: Easy Ideas for Every Budget
Pingback: Uñas Halloween 2026: 25 Nail Designs Trending Now