
An advent calendar DIY is the rare Christmas project that pays you back every single morning of December — twenty-four small doors, pockets or parcels, each one a tiny event. The calendars people actually finish share one trait: they are built from one simple repeated unit, not twenty-four different crafts. This guide covers the designs that work — felt pockets, envelopes, boxes, jars and wooden houses — the honest build times, and the filler ideas that carry a calendar beyond chocolate coins.
What Is the Easiest Advent Calendar to Make?
The easiest advent calendar to make is a paper envelope calendar — twenty-four small envelopes numbered and strung on twine with mini pegs, or fixed to a board or branch in rows. It needs no sewing, no power tools and no talent beyond tidy handwriting, and it can be finished in one evening. Each envelope holds a note, a small sweet or a folded activity, and the whole calendar stores flat in a drawer for next year.
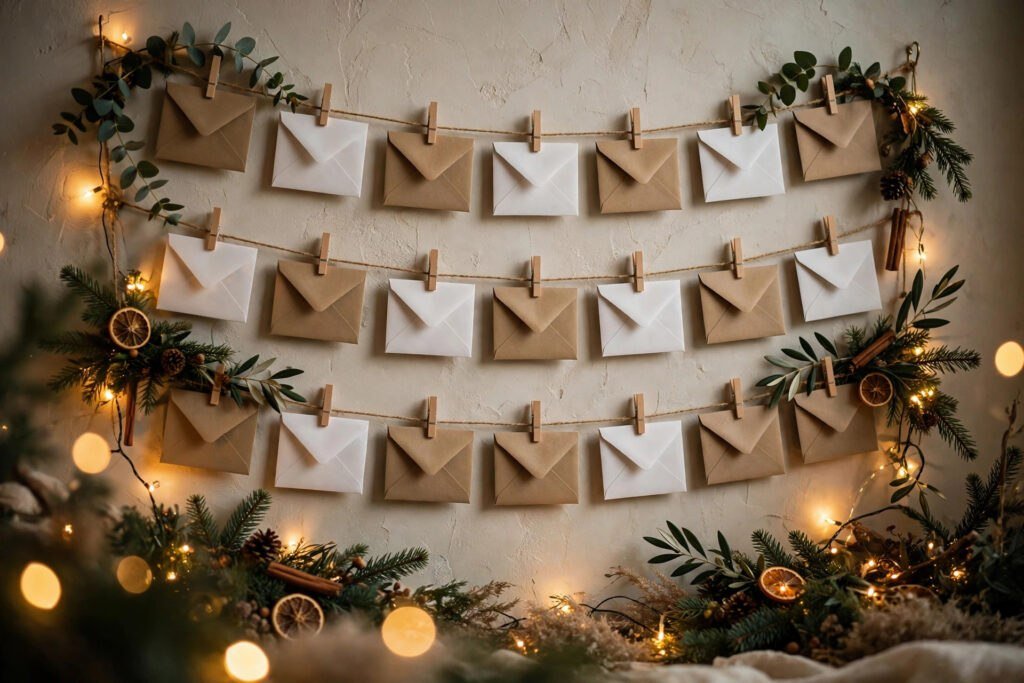
The envelope calendar’s one design rule is rhythm: same envelope, same number style, same spacing — repetition is what makes simple materials look like a designed object. Brown kraft envelopes suit rustic and farmhouse rooms, white envelopes with gold numbers suit everything else. The countdown-chain logic in our Christmas paper chains guide is the envelope calendar’s cousin — one unit, repeated daily, building anticipation by removal — and the two displayed together, chain shrinking as envelopes empty, make a corner of the room that tells December’s story at a glance.
How Do You Make a Felt Pocket Advent Calendar?
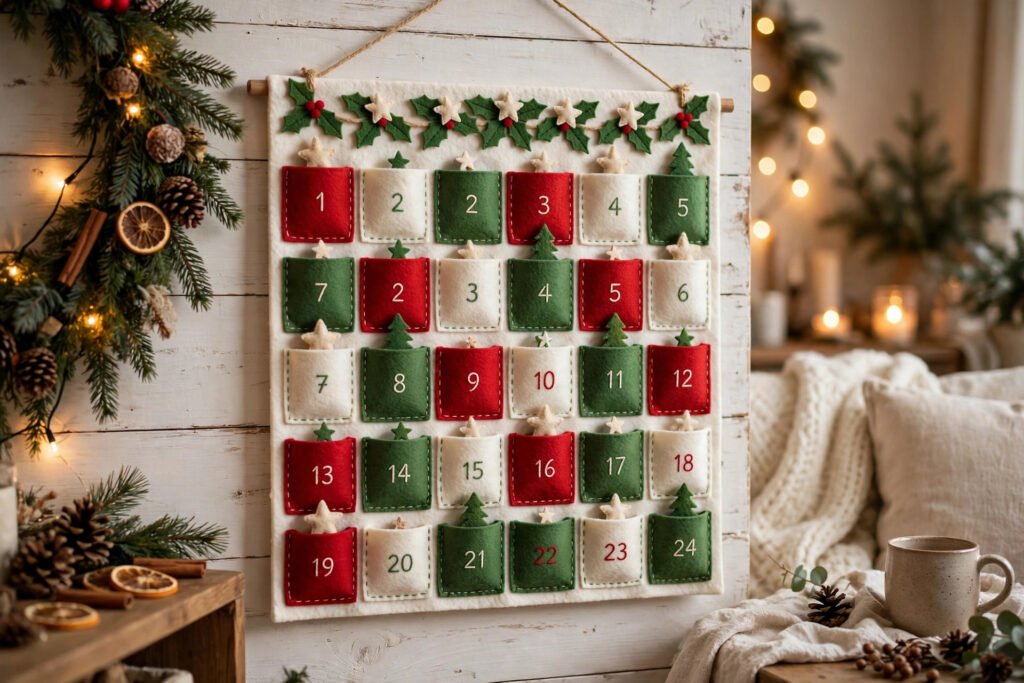
You make a felt pocket advent calendar by cutting twenty-four small felt pockets and stitching or gluing them in a grid onto a large felt backing panel, numbering each pocket and finishing with a dowel and hanging cord at the top. Felt is the perfect material — it does not fray, needs no hemming, and takes fabric glue honestly if sewing is not your craft. A grid of six rows of four pockets is the classic layout; a tree-shaped backing with pockets as ornaments is the ambitious one.
This is where the hand-sewing skills in our felt Christmas ornaments DIY guide do double duty — the same blanket stitch that finishes an ornament’s edge finishes a pocket, and small felt stars, trees and mittens appliqued on each pocket turn plain squares into a picture calendar a child reads before they can read numbers. Use two or three felt colors in a pattern across the grid — red, cream and green in rotation — and embroider or stencil the numbers in one consistent color. A well-made felt calendar becomes the family’s December heirloom, refilled every year and argued over by grandchildren.
What Can You Put in a DIY Advent Calendar Besides Chocolate?
You can put activity notes, small toys, craft supplies, beauty minis, tea bags, jokes, ornaments and one-piece-a-day puzzle or building pieces in a DIY advent calendar besides chocolate. The activity calendar is the version families rate highest in hindsight: a card a day reading “bake cookies”, “drive to see the lights”, “hot chocolate with the good marshmallows” costs almost nothing and manufactures the month’s best memories on schedule. Mix three kinds of days — treat days, thing days and do days — so no morning is predictable.
Match fillers to the calendar’s size before you build it: pockets hold notes and flat treats, boxes and drawers hold objects, jars hold anything small. Adults’ calendars run on tea, coffee pods, miniature bottles, skincare minis and handwritten vouchers. Pet calendars are a rising favorite — one small treat a day behind a numbered door, with the pet learning the ritual by December 5th. And the filler logic mirrors the stocking formula in our Christmas stocking ideas guide: something to eat, something to use, something to do, something that is theirs — spread across twenty-four days instead of one morning.
How Do You Make a Wooden Advent Calendar?
You make a wooden advent calendar by building or buying a frame of twenty-four small drawers, boxes or houses, then painting, numbering and filling them — it is the most durable calendar type and the only one that reliably becomes an heirloom. Unfinished wooden drawer units and house-shaped frames are sold ready to decorate every autumn, which cuts the project to the enjoyable part: paint in the room’s palette, stencil or sticker the numbers, line the drawers with tissue and fill.
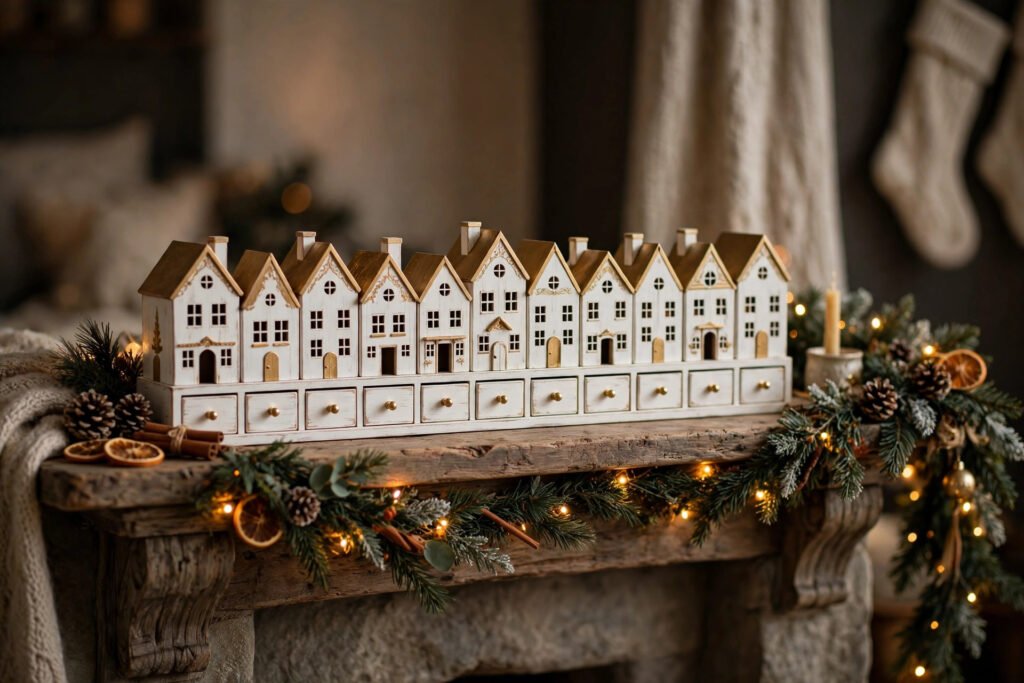
Wood takes any style. White and gold houses read Scandinavian and suit the restrained look of our Nordic Christmas decorations; red and green drawers with brass knobs read traditional; a village of tiny houses, each roof numbered, doubles as mantel decor. The honest warning: twenty-four drawers is twenty-four painting sessions of patience — spray the bodies one color, hand-paint only the fronts, and number with stickers or stamps rather than freehand unless your handwriting is the point. Build it once, and December’s only job is refilling it.
When Should You Start Making an Advent Calendar?
You should start making an advent calendar in early to mid November — felt and wooden calendars need a weekend plus drying time, envelope and paper calendars need one evening, and all of them need to be hanging, filled, by the night of November 30th. Starting in November is not early; craft stores stock the bases, felt and mini pegs in October and sell through them, and the numbers — stickers, stamps, wooden discs — are the first items to vanish.
Plan backwards: choose the type by your real craft appetite, buy materials in one trip, build the structure in one session and fill it in another, because filling twenty-four pockets thoughtfully takes longer than anyone expects. Fillers hide around the house from October onward for the organized; the rest of us do one dedicated filler shop with a list — twenty-four slots written down, ticked off — at a craft store like Michaels, where the calendar bases and the small things that fill them share an aisle. Finish by the last weekend of November and December 1st arrives like a gift instead of a deadline.
How Do You Display a DIY Advent Calendar?
You display a DIY advent calendar where the household passes every morning — hung on a wall by the kitchen, along the staircase, on the mantel or on a branch stand on the sideboard — at a height children can reach for their own day. The calendar is a daily ritual object, not a shelf decoration: it belongs on the morning route between bedroom and breakfast. Wall-hung panels and envelope strings suit hallways and kitchen walls; box calendars sit on the sideboard or mantel where hands pass.
Style it as part of the room, not an exception to it: the calendar’s colors should sit inside the room’s Christmas palette, its string or frame echoing the garland nearby. A branch stand — one sturdy branch in a heavy vase, envelopes or parcels hanging from twine — is the most photographed display because it brings the calendar to table height and travels room to room. Light counts too: a calendar hung in the room’s dim corner gets forgotten by mid-December, while one near the tree lights is visited daily. Place it where December already looks best, and the ritual keeps itself.
Frequently Asked Questions
An advent calendar has 24 days, running from December 1st to December 24th. Some calendars add a 25th door for Christmas Day itself, but the standard build — and the one to plan materials for — is twenty-four pockets, envelopes or drawers, one for each morning of the countdown.
The cheapest advent calendar to make is a paper envelope or paper bag calendar, costing little more than the envelopes, twine and pegs. Filled with handwritten activity notes instead of bought treats, the whole project can cost almost nothing and is the version families remember most fondly.
For adults, fill an advent calendar with tea bags or coffee pods, miniature bottles, skincare and beauty minis, good chocolate, handwritten vouchers for treats and experiences, and small useful luxuries. Alternating edible, usable and experience days keeps an adult calendar from feeling like a children’s one with better chocolate.
Yes, you can reuse a DIY advent calendar every year — felt, wooden and fabric calendars are designed to be refilled, and sturdy envelope calendars last several seasons stored flat. Reusability is the main argument for building one well: the structure is made once and only the fillers change.
Number advent calendar pockets with stencils and fabric paint, iron-on numbers, wooden number discs, stickers, or handwriting in a metallic marker. Consistency matters more than the method: one number style, one size, one placement on every pocket is what makes a homemade calendar look finished.
Advent calendar pockets should be about 3 to 4 inches wide and 4 to 5 inches tall to hold notes, small chocolates and miniature gifts. Go larger — 5 by 6 inches — if fillers include toys or beauty products, and decide the pocket size from the fillers before cutting anything.

At Decor Artly, we bring art, home decor, and personal style together to create beautiful spaces and inspiring lifestyles. Led by Design Director Roni, we offer curated artwork, elegant home accents, and personalized styling to help you express your unique taste.