
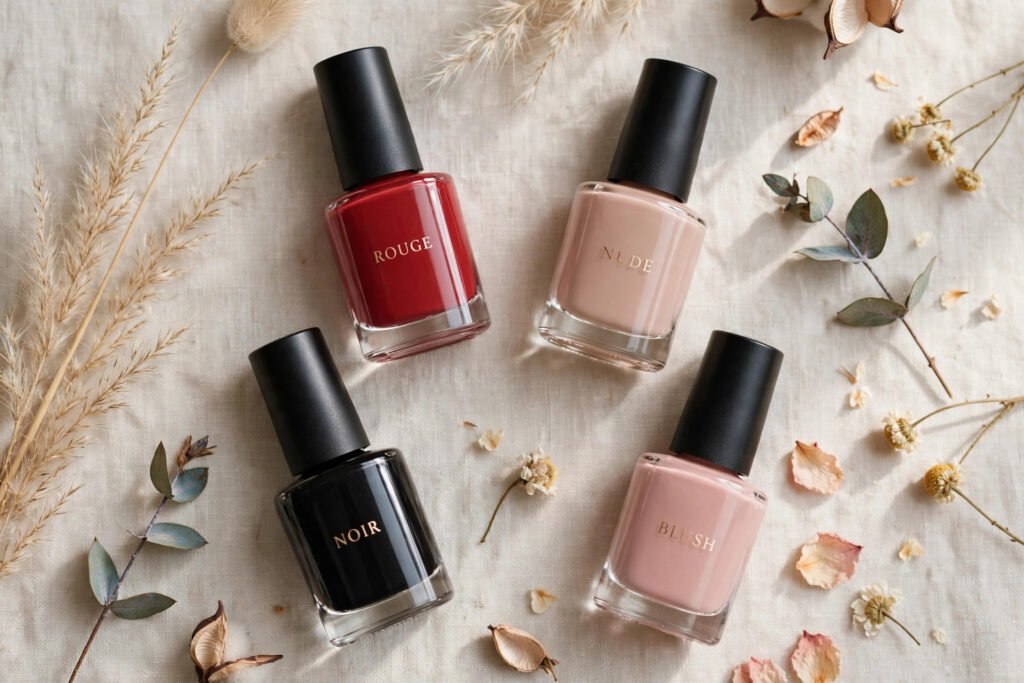
If you’ve ever seen the words “nail enamel” on a bottle and wondered whether it’s something different from regular nail polish, you’re not alone. Enamel fingernail polish is one of those terms that sounds technical but is actually older than most of the products on the shelf — it dates back to the early days of commercial nail color, when “enamel” was simply what the industry called pigmented lacquer for nails.
Today the term is used interchangeably with “nail polish” and “nail lacquer,” though some brands still use “enamel” to signal a harder, glossier finish. This guide covers everything: what enamel polish really is, how it compares to gel, how to apply it like a pro, and how to make it last.
What Is Enamel Fingernail Polish, Exactly?
At its core, enamel fingernail polish is a pigmented lacquer designed to coat the nail with color and shine, drying through solvent evaporation — no lamp needed. A typical formula contains film-forming agents (traditionally nitrocellulose) that create the hard coating, resins for adhesion and gloss, plasticizers to keep the film flexible so it doesn’t crack, pigments for color, and solvents that keep everything liquid in the bottle and evaporate on the nail.
The word “enamel” stuck around because early formulas were marketed for their hard, enamel-like shine — similar to the enamel paint used on cars and appliances of the era. Modern formulas are far more refined, but the promise is the same: a smooth, glossy, protective layer of color.
One thing worth knowing: when a brand labels a product “enamel” today rather than just “polish,” it usually means a classic air-dry lacquer as opposed to a gel or a water-based “breathable” formula. It’s the traditional product most of us grew up with.
Enamel vs. Regular Polish vs. Gel: What’s the Real Difference?
This is where most confusion lives, so let’s clear it up:
| Feature | Enamel / Traditional Polish | Gel Polish |
|---|---|---|
| How it dries | Air-dries by evaporation (5–15 min per coat) | Cures under UV/LED lamp (30–60 sec) |
| Durability | 5–7 days | 2–3 weeks |
| Finish | Glossy (matte with matte top coat) | High-gloss, plump |
| Removal | Regular remover, minutes | Soak-off with acetone, 10–15 min |
| At-home ease | Very easy | Needs lamp + technique |
| Cost per manicure | Low | Higher (lamp investment) |
| Nail health impact | Gentle if removed properly | Can weaken nails if peeled or over-filed |
In short: “enamel” and “regular nail polish” are essentially the same category. Gel is the different technology. If someone tells you enamel is “stronger” than regular polish, they’re usually just describing a good-quality traditional lacquer with high resin content — not a separate product class. For a broader comparison of enhancement types, see our guide to acrylic, gel, or press-on nails.
The Pros and Cons of Enamel Polish
Pros:
- No special equipment — just the bottle.
- Affordable, with an enormous shade range.
- Easy to remove and change as often as you like.
- No UV exposure.
- Mistakes are easy to fix with a cleanup brush.
Cons:
- Chips faster than gel, especially on active hands.
- Needs real drying time — smudges are the classic enemy.
- Solvent fumes require ventilation.
- Dark shades can stain the nail without a base coat.
For most people, enamel remains the everyday workhorse: perfect for trying trends, matching outfits, and changing your mind on Friday. Find more nail art ideas for your next look.
How to Apply Enamel Fingernail Polish Like a Pro
Salon-quality results at home come down to technique, not expensive products. Here’s the method:
- Start with clean, dry nails. Remove old polish completely, push back cuticles, and wipe each nail with alcohol or a dehydrator wipe. Oils are the enemy of adhesion.
- Apply base coat. One thin layer. It prevents staining, smooths ridges, and gives color something to grip.
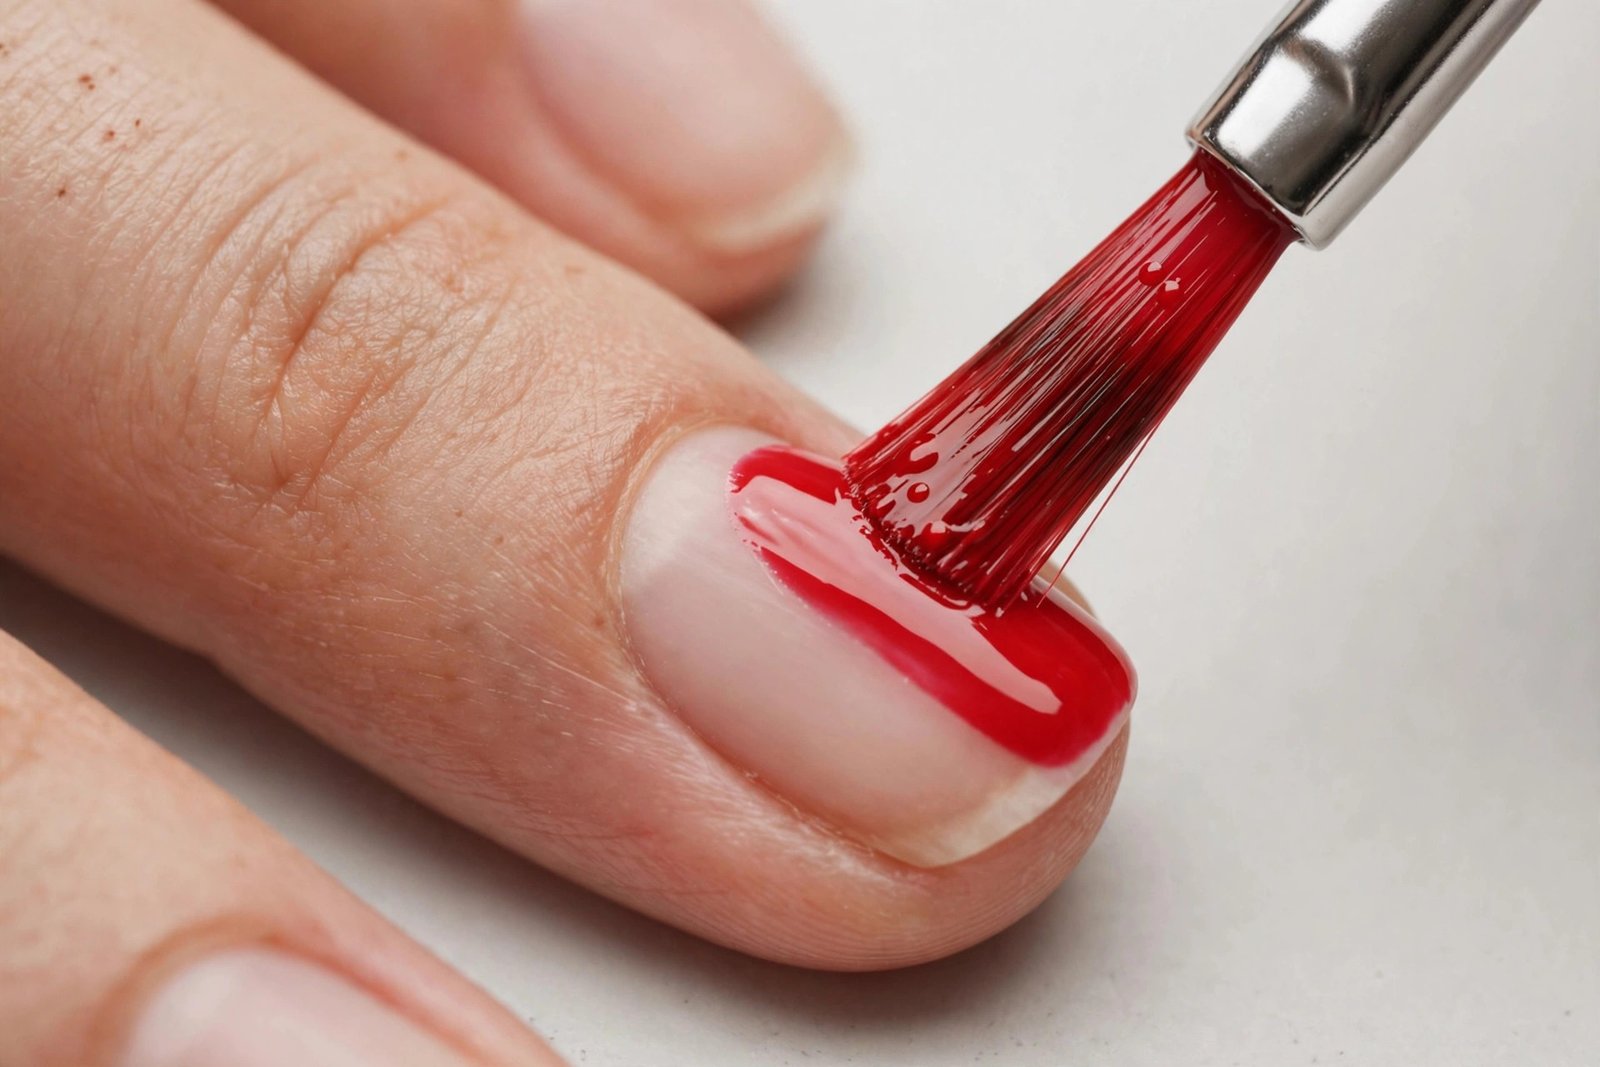
- Two to three thin coats of color. Load the brush, wipe one side on the bottle neck, and use three strokes per nail: center, then each side. Wait 2–3 minutes between coats. Thin coats are the single biggest factor in a long-lasting manicure.
- Cap the free edge. Run the brush lightly along the tip of each nail with every coat, including base and top. This seals the edge where chipping starts.
- Clean up as you go. Dip a small flat brush in remover and trace around the cuticle for crisp lines.
- Finish with top coat. A generous layer adds gloss and protection. Reapply a fresh layer of top coat every 2–3 days to extend wear dramatically.
- Let it dry — really dry. Touch-dry isn’t fully dry. Give it at least 20–30 minutes before anything involving pressure or heat, and avoid hot water for a few hours.
7 Ways to Make Enamel Polish Last Longer
- Prep properly: dehydrated, oil-free nails hold polish days longer.
- Never skip base coat — it’s the foundation of adhesion.
- Keep coats thin; thick polish shrinks as it dries and lifts at the edges.
- Cap the free edge with every layer.
- Refresh top coat every two to three days.
- Wear gloves for dishes and cleaning; detergents are polish killers.
- Apply cuticle oil nightly — flexible nails chip less than brittle ones.
Choosing the Right Enamel: What to Look For
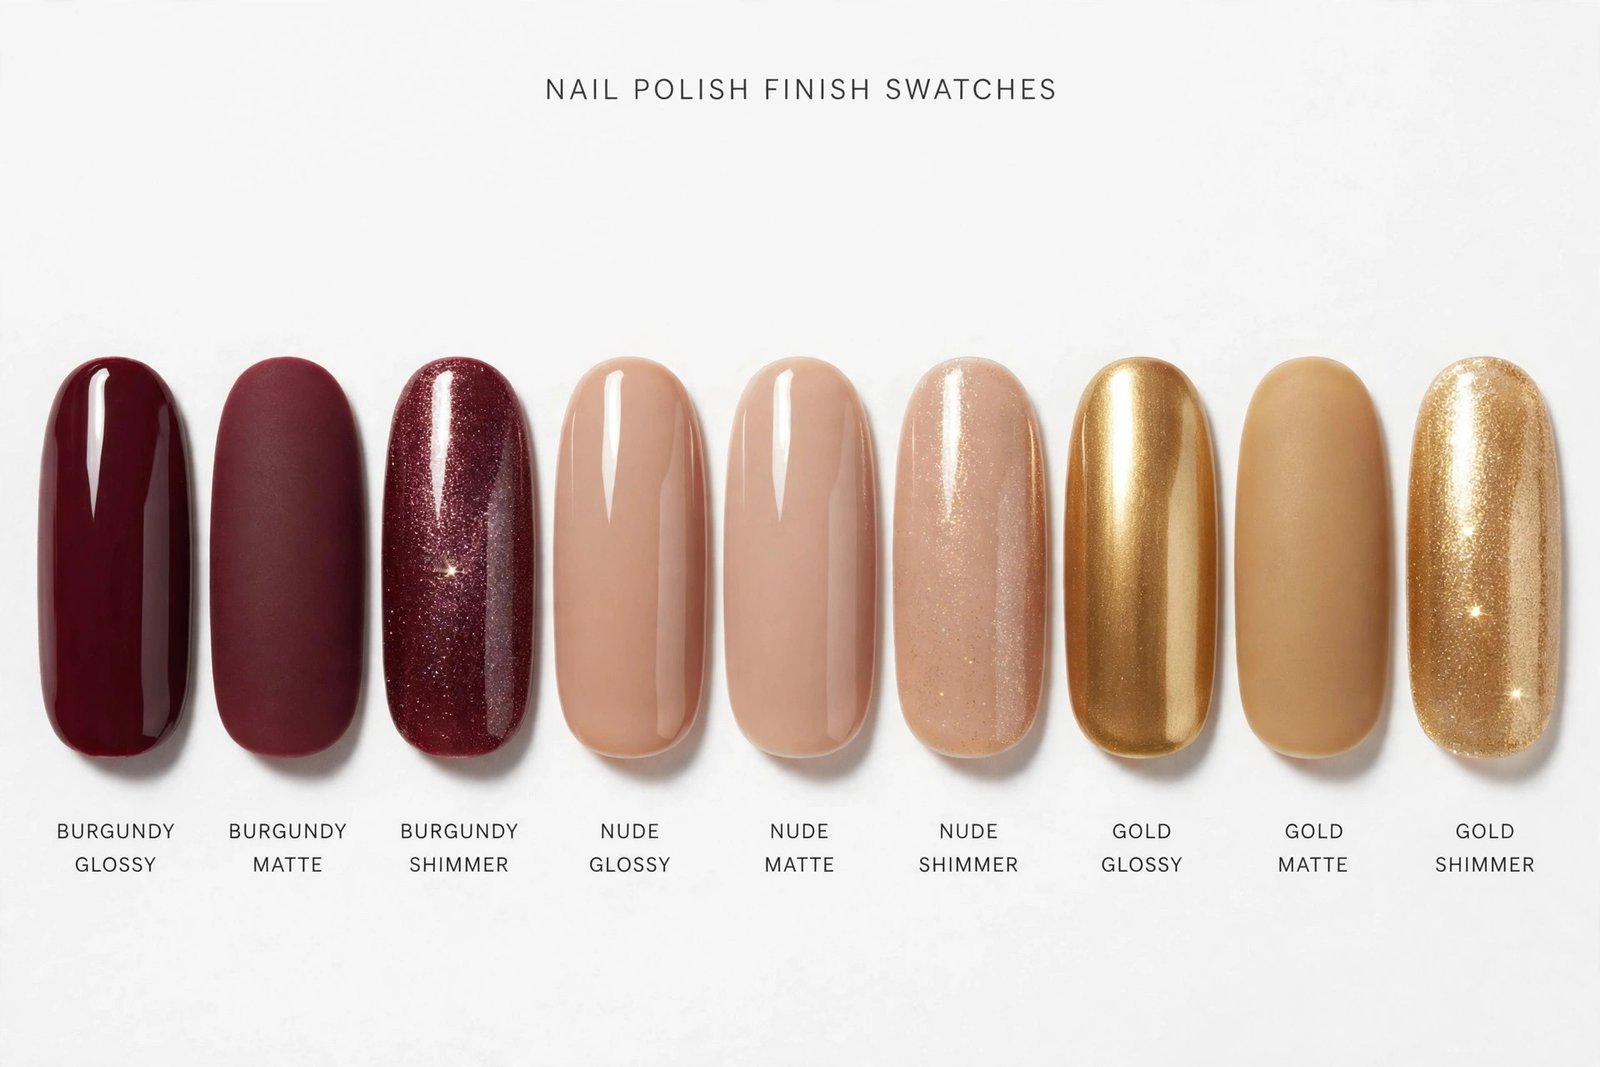
Finish types: Crème (opaque, no shimmer) is the most versatile. Shimmer and metallic add dimension; matte (via matte top coat) looks modern; jelly finishes give a translucent, glassy effect that’s very on-trend. For a cheerful seasonal switch, browse these yellow nail polish shades.
“Free” formulas: You’ll see “3-free,” “5-free,” up to “21-free” on labels. These indicate the formula excludes certain controversial ingredients (the original three: formaldehyde, toluene, and DBP). More “frees” generally means a cleaner formula, though performance varies by brand — read reviews for wear time, not just the free count.
Opacity and brush: A good enamel should reach full opacity in two coats. Flat, medium-width brushes give the most control for at-home application. If a polish needs four coats, it’s not worth your time no matter how pretty the bottle is.
5 Mistakes That Ruin an Enamel Manicure
- Shaking the bottle. It creates micro-bubbles that end up on your nails. Roll the bottle between your palms instead.
- Painting over oily nails. Lotion or cuticle oil right before polish guarantees peeling. Oil comes after, never before.
- Skipping dry time between coats. Trapped solvents cause bubbling and denting.
- Using old, thickened polish. Don’t thin it with remover (that ruins the formula) — use proper nail polish thinner, or replace the bottle.
- Sealing the cuticle. Flooding polish onto skin causes lifting. Keep a tiny gap at the cuticle line.
How to Remove Enamel Polish Safely
Soak a cotton pad in remover, press it onto the nail for 10–15 seconds, then wipe toward the tip — don’t scrub back and forth. Non-acetone remover is gentler for regular use; acetone works faster on dark shades and glitter. For stubborn glitter, try the foil method: soaked cotton, wrap in foil, wait 5 minutes. Never peel or scrape polish off — you’ll take nail layers with it. Finish with soap, water, and cuticle oil. If you wear enhancements, learn how to remove acrylic nails safely too.
The Bottom Line
Enamel fingernail polish isn’t a mystery product or a separate technology — it’s the classic nail lacquer, refined over a century into the versatile, affordable staple it is today. Understand the formula, apply it in thin coats, and maintain it with top coat refreshes, and there’s no reason your at-home manicure can’t look salon-done. In 2027, with cleaner formulas and better brushes than ever, it’s the easiest way to wear exactly the color you want, whenever you want it. Pair your shade with classy acrylic nails or seasonal fall nail ideas.
Enamel fingernail polish is a pigmented nail lacquer that air-dries through solvent evaporation. The term “enamel” dates to the early days of commercial nail color and today is used interchangeably with “nail polish” or “nail lacquer.”
Essentially, yes. “Enamel” and “regular” or “traditional” nail polish refer to the same category of air-dry lacquer. Gel polish is the different technology — it cures under a UV/LED lamp and lasts longer.
Typically 5–7 days with proper prep, base coat, thin coats, and a top coat. You can extend wear by refreshing the top coat every 2–3 days and wearing gloves for household chores.
Neither is universally better — they serve different needs. Enamel is easier, cheaper, and simpler to remove, making it ideal for frequent color changes. Gel lasts 2–3 weeks but needs a lamp and more careful removal.
Start with clean, oil-free nails, apply base coat, then two to three thin color coats (capping the free edge each time), clean up around the cuticles, and seal with top coat. Allow full drying time before using your hands normally.
Press a remover-soaked cotton pad on each nail for 10–15 seconds, then wipe toward the tip. Use the foil-wrap method for glitter. Never peel polish off, and moisturize with cuticle oil afterward.

At Decor Artly, we bring art, home decor, and personal style together to create beautiful spaces and inspiring lifestyles. Led by Design Director Roni, we offer curated artwork, elegant home accents, and personalized styling to help you express your unique taste.